Lesson Types
A. Live class
-
Click on Live class.
-
Type in the heading.
-
Choose the starting and ending time.
-
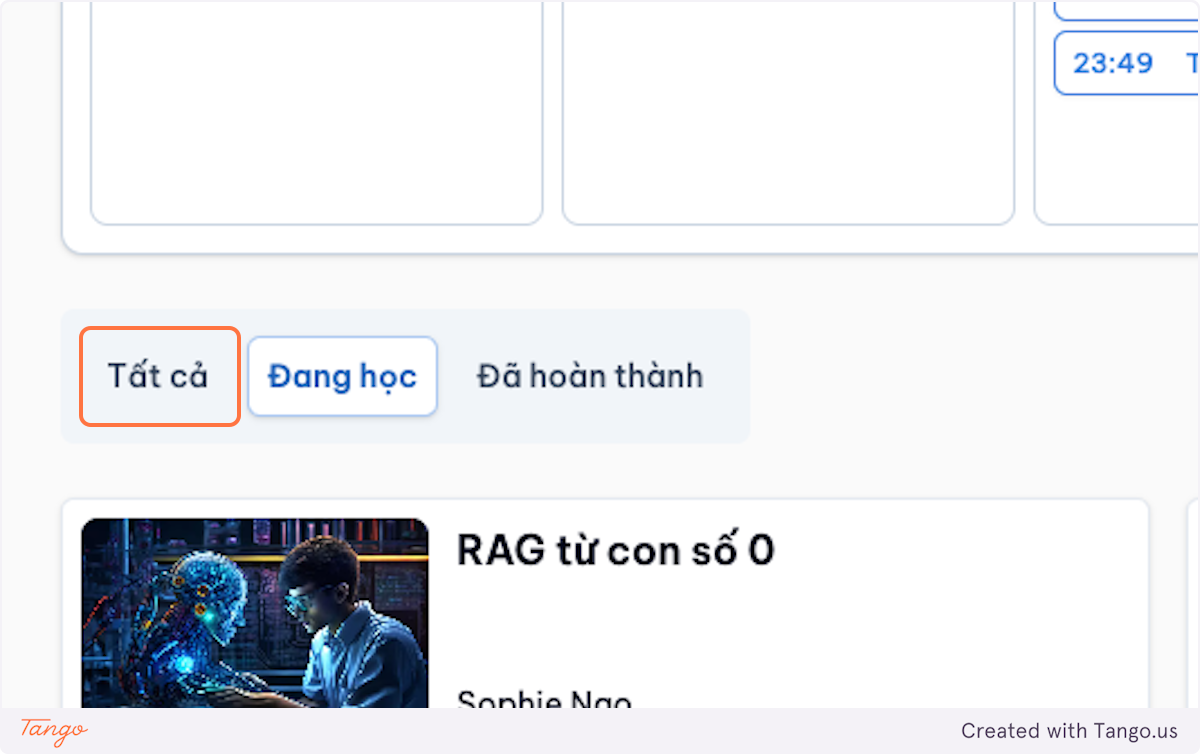
Click Save.
-
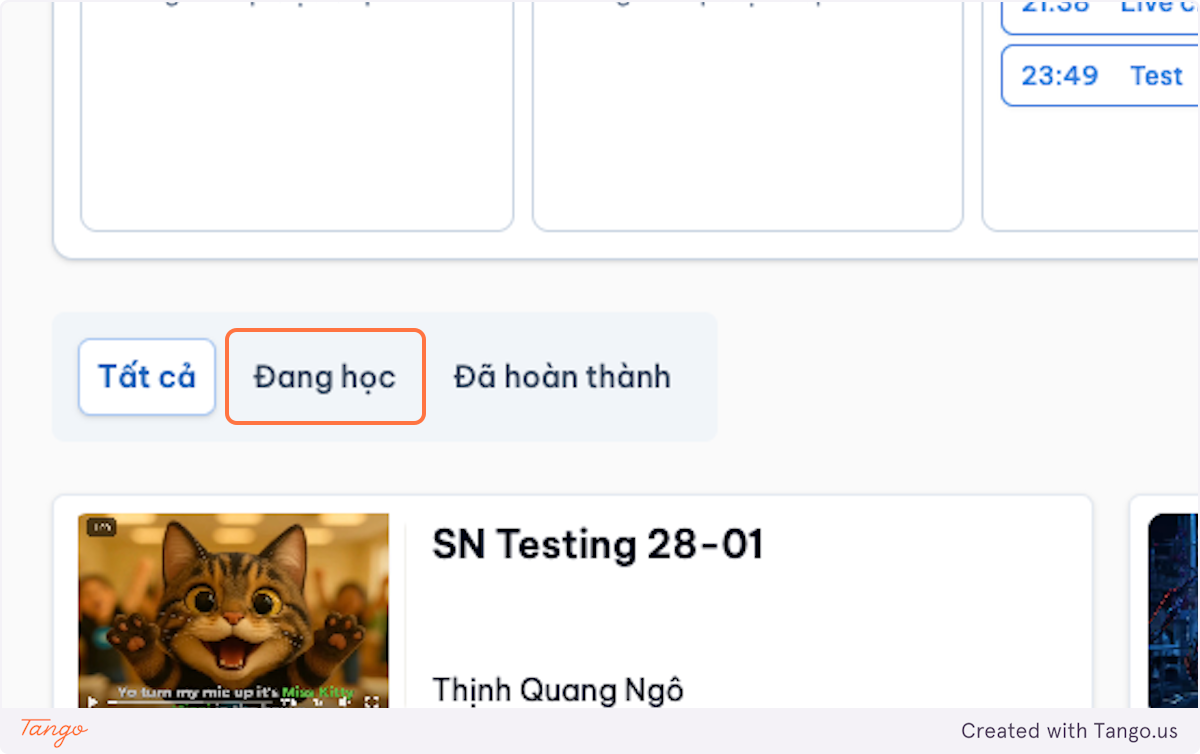
The URL to the live class will show up.
-
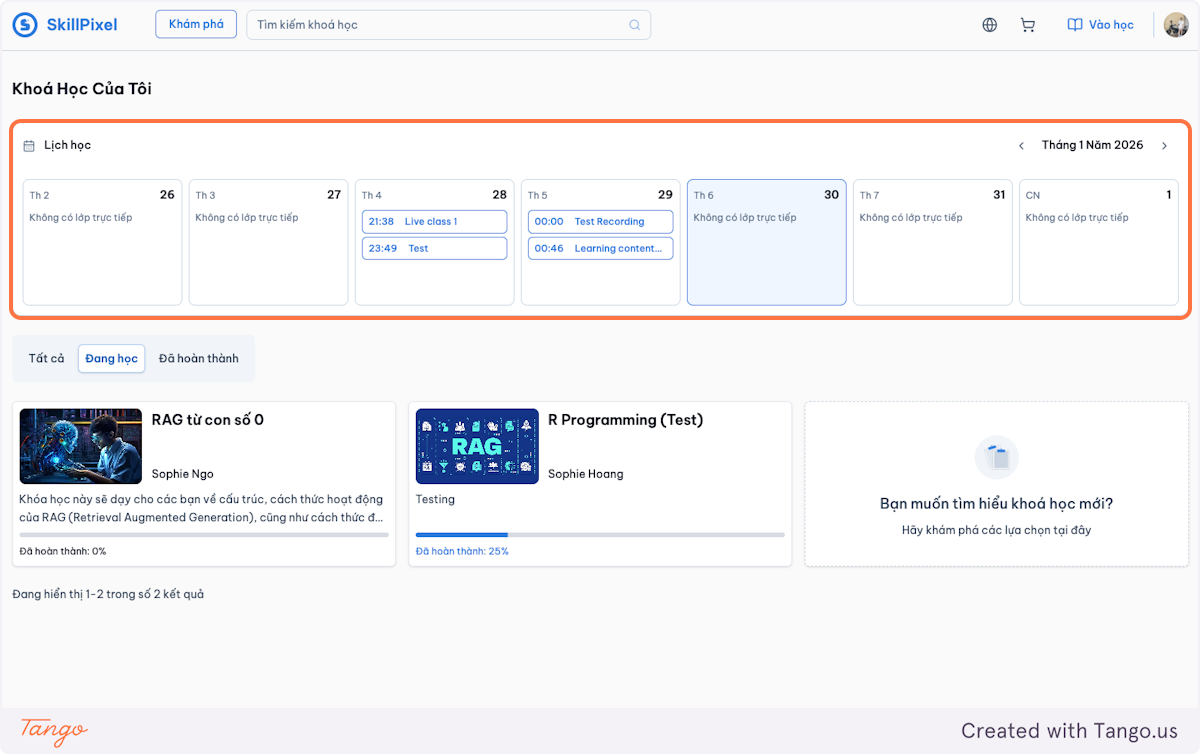
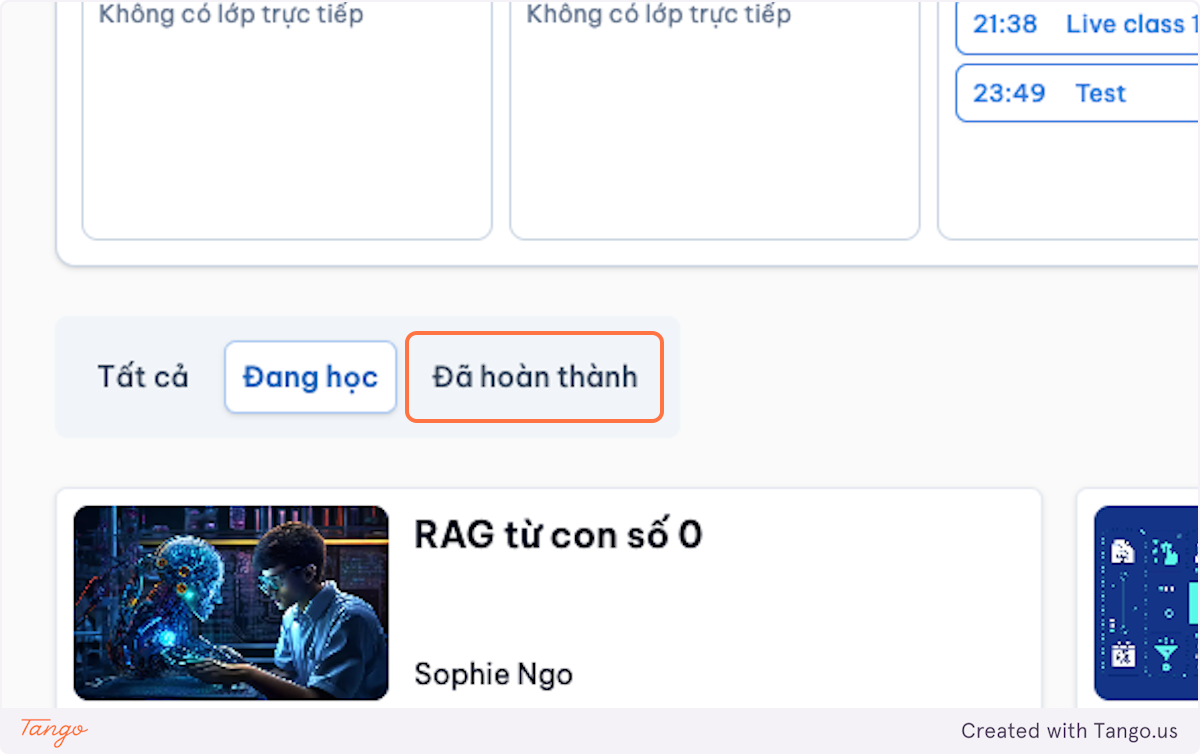
The live class will auto sync to the course creator’s Google calendar.
-
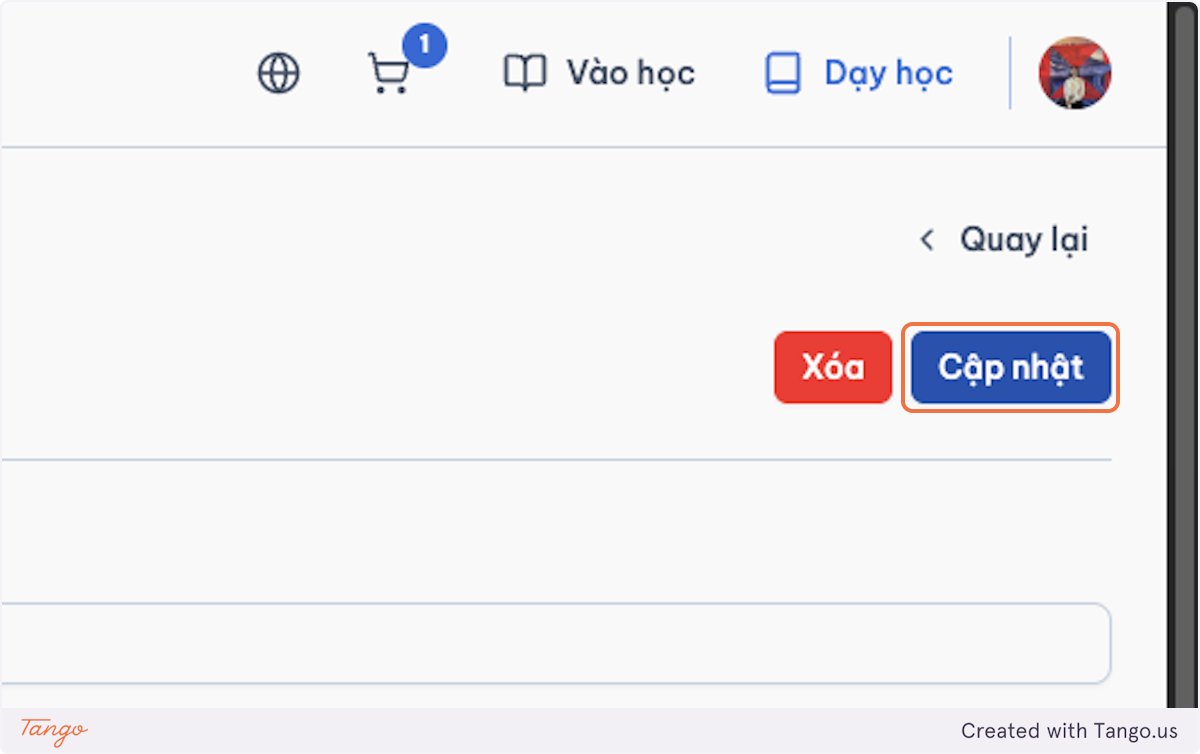
Click on Update to make sure everything is saved.
B. Recording
Important Notes
- This is specifically used for “Live class”, and it is able to link to a live class that happened, so students can rewatch the recording. It is different from the “Video” lesson type.
- You will need to wait for Google to process the video recording. When it is ready, you will get an email in the admin inbox, and you can download that recording file, then upload it following the steps below.
-
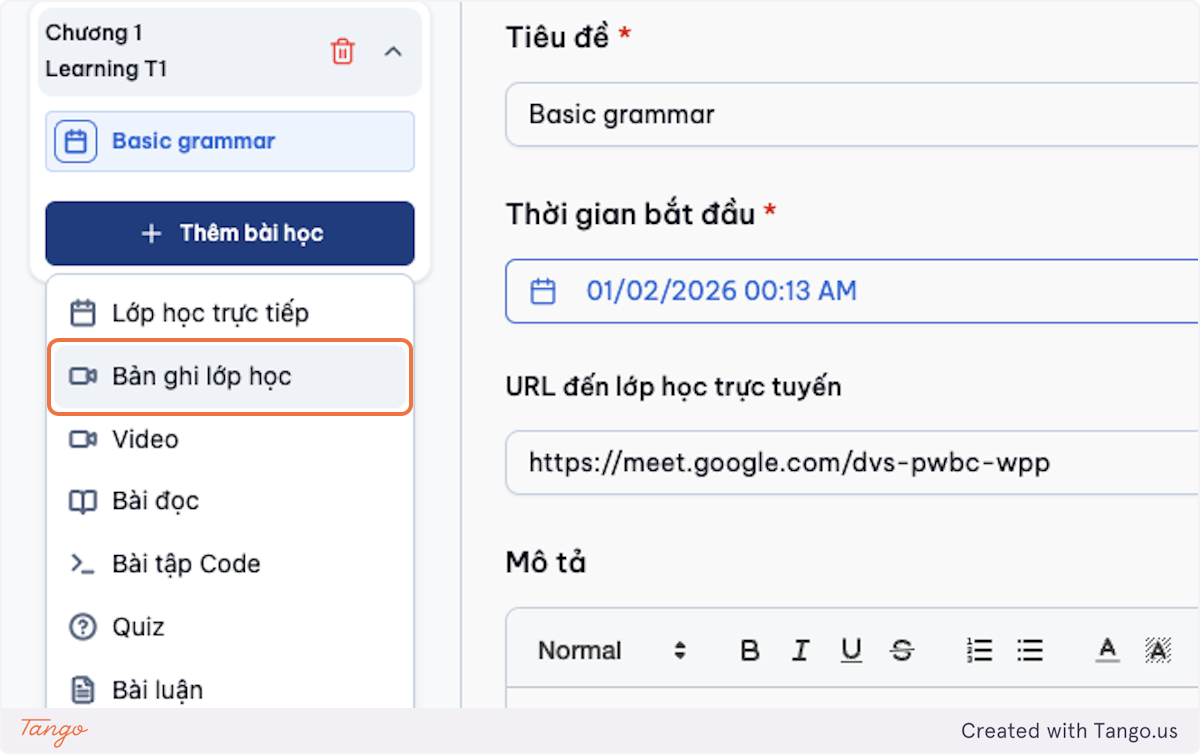
Click on Class Recording.
-
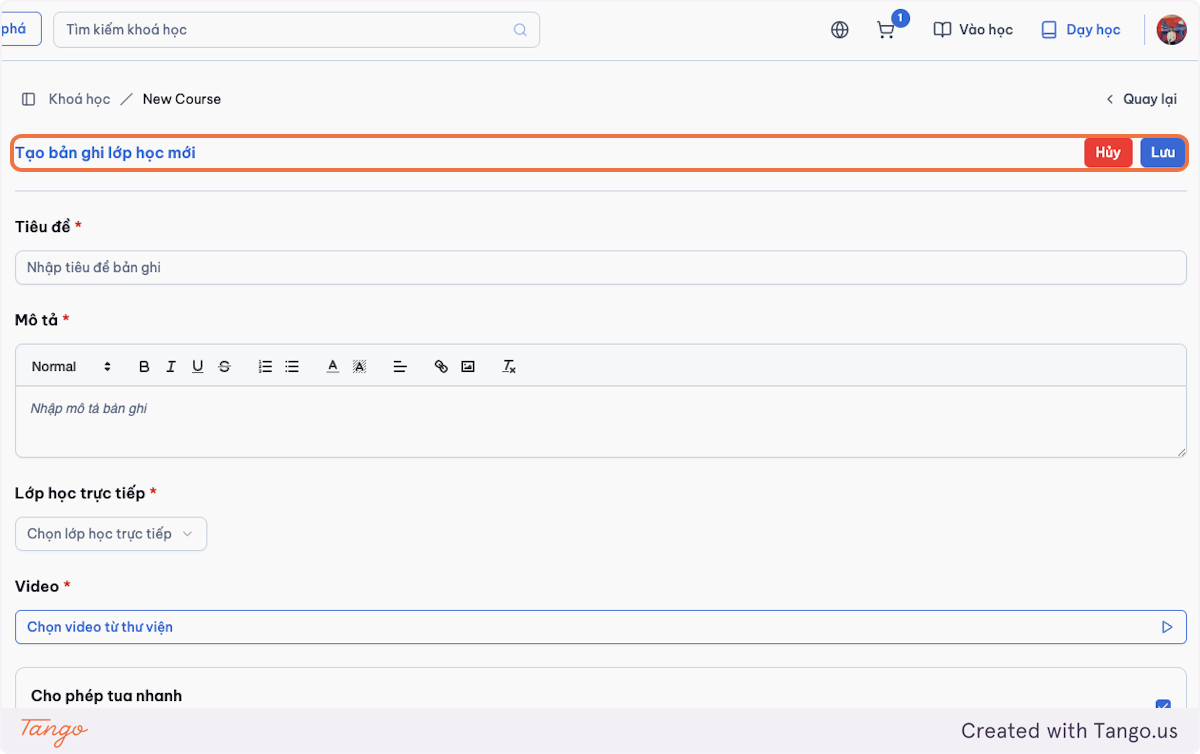
Input the information.
-
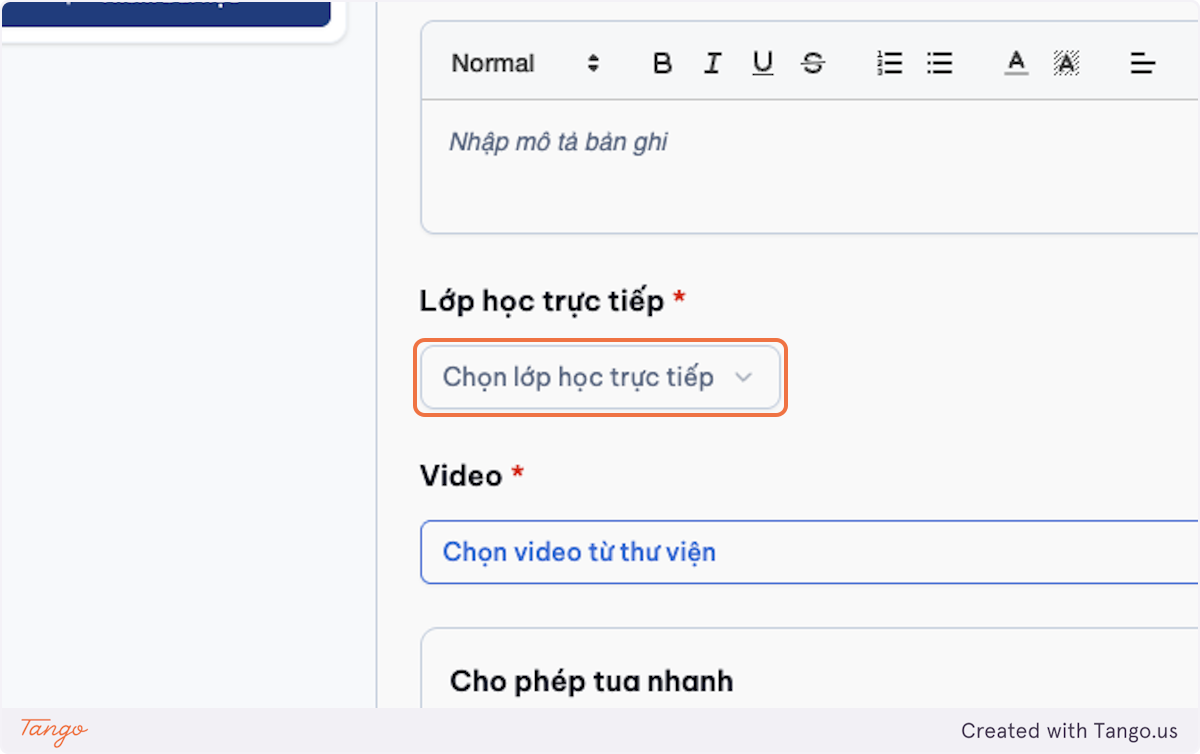
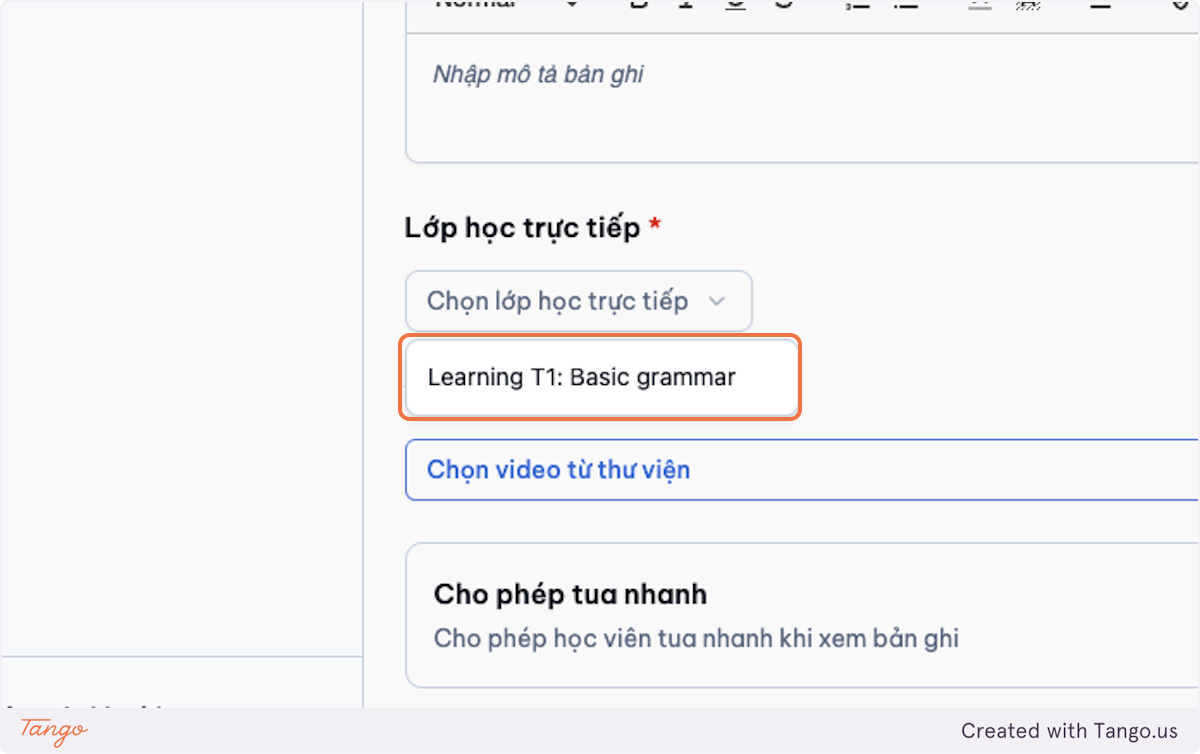
Choose the recording class.
-
Upload the recording video.
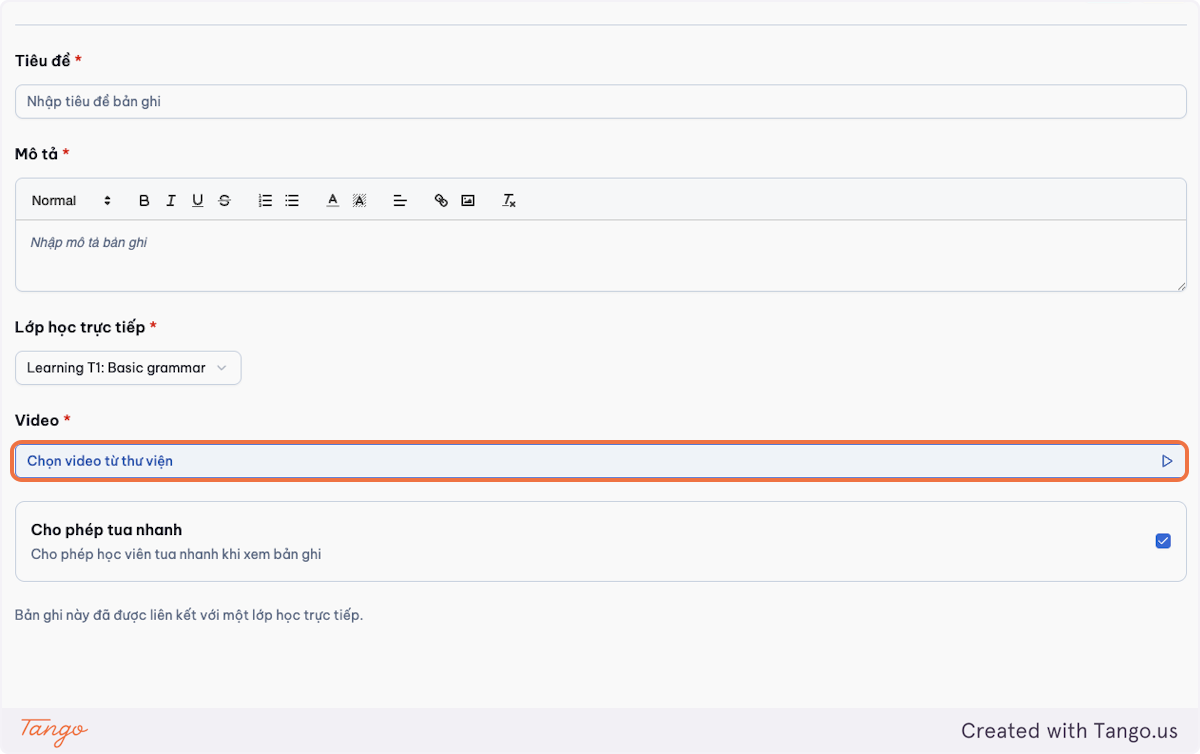
-
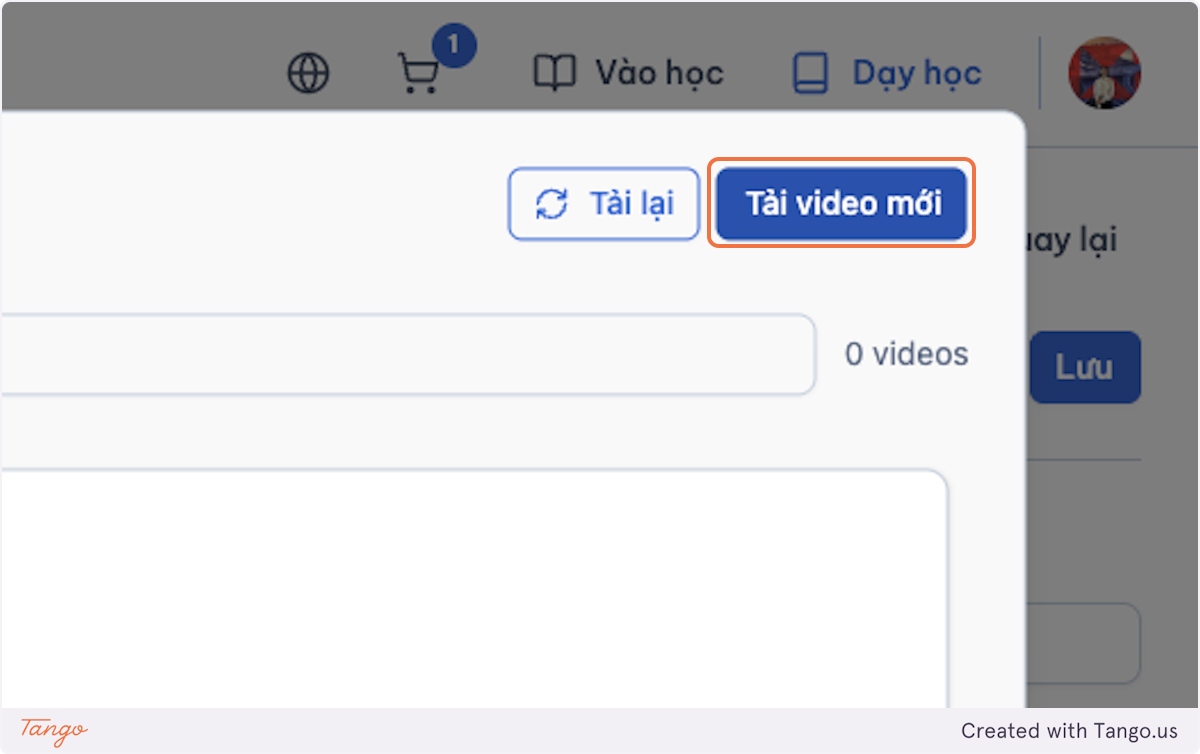
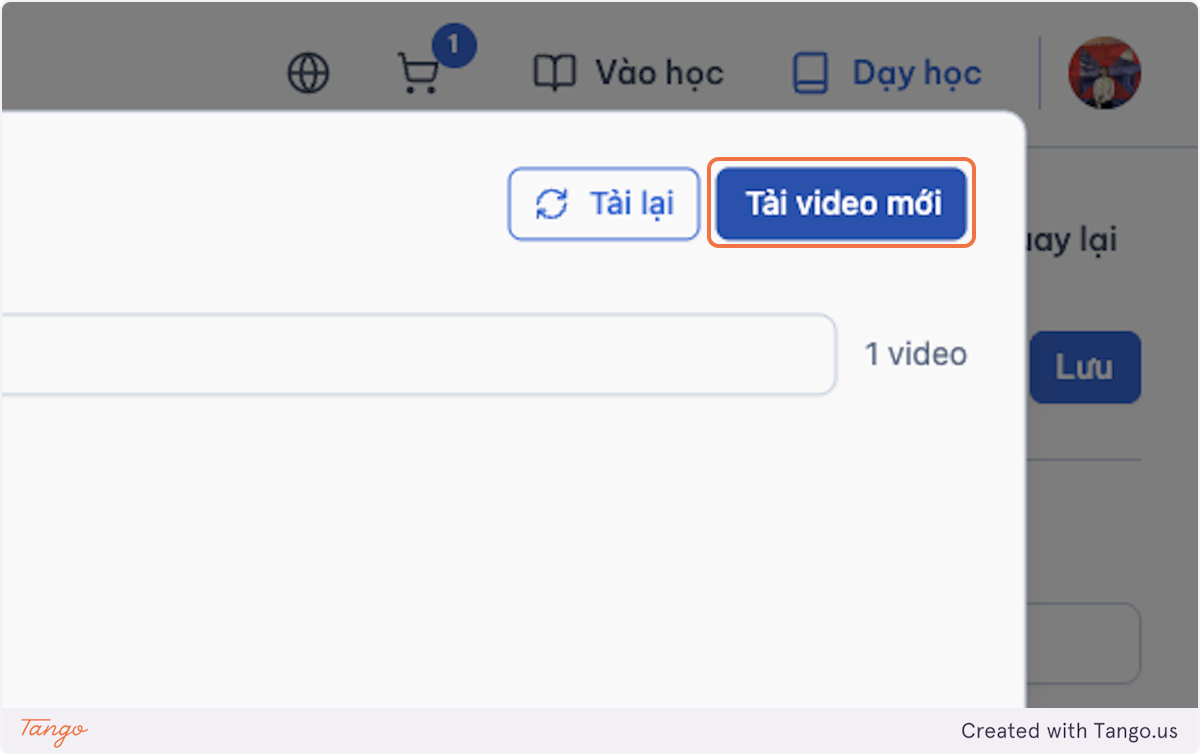
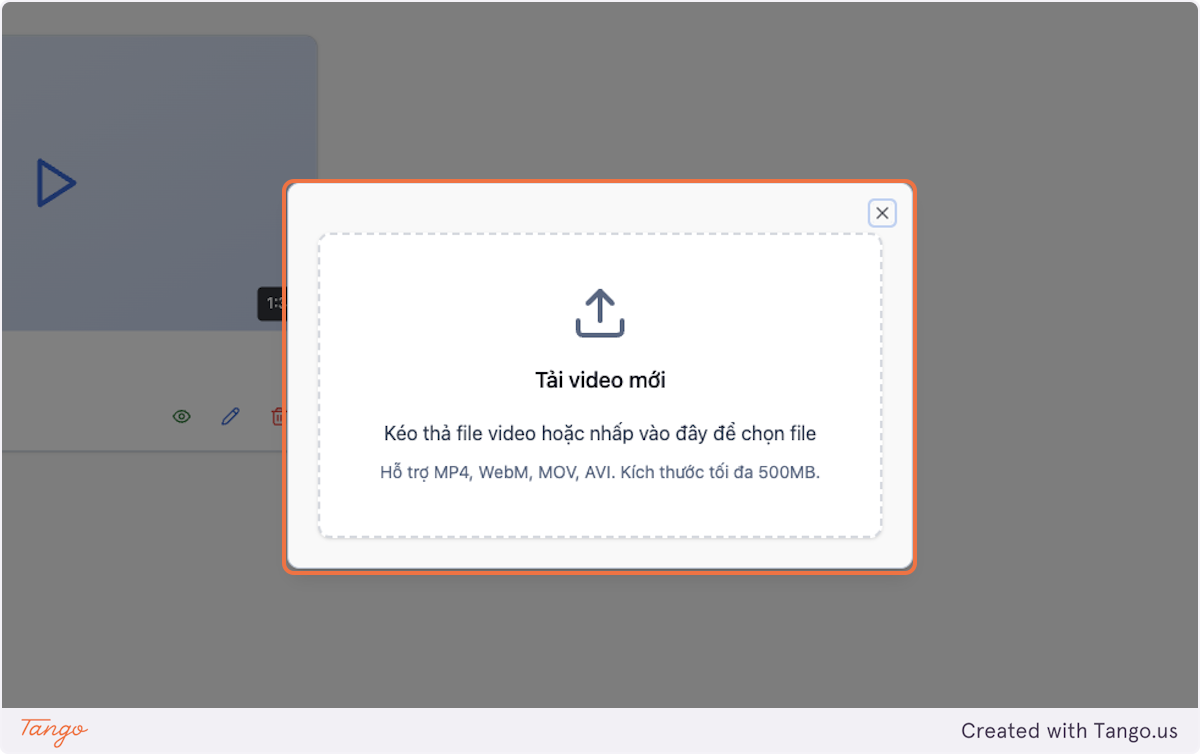
Upload new video.
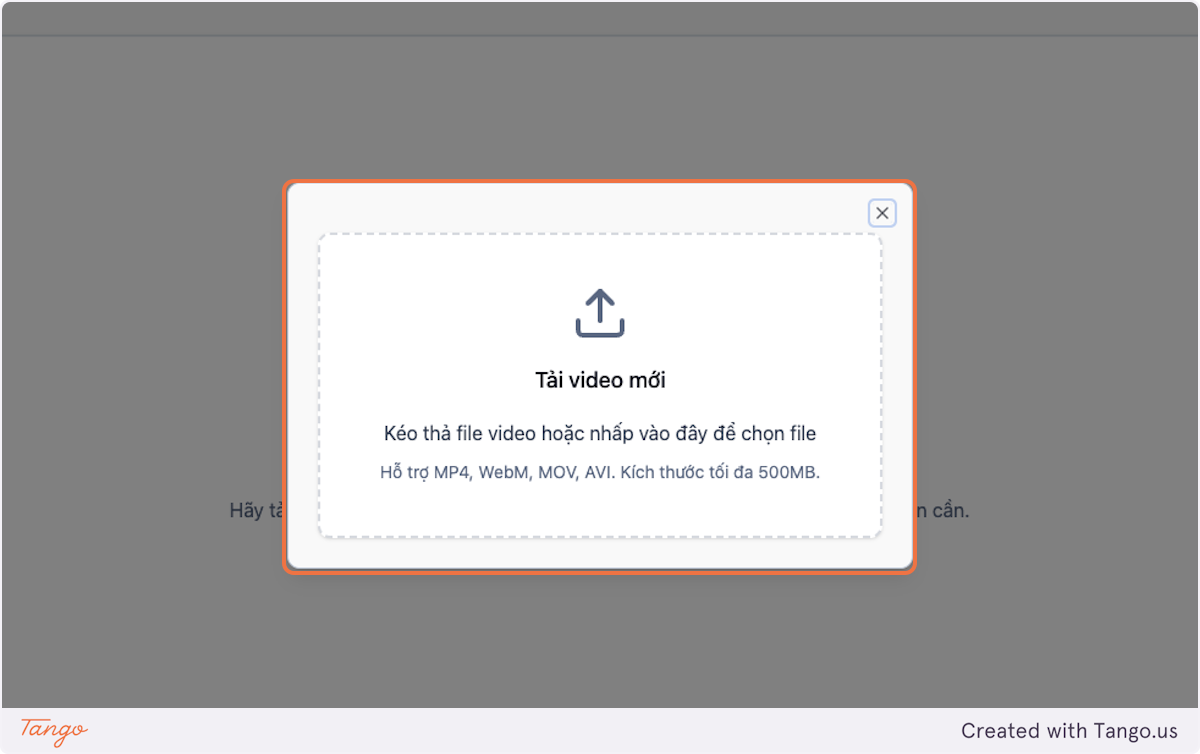
-
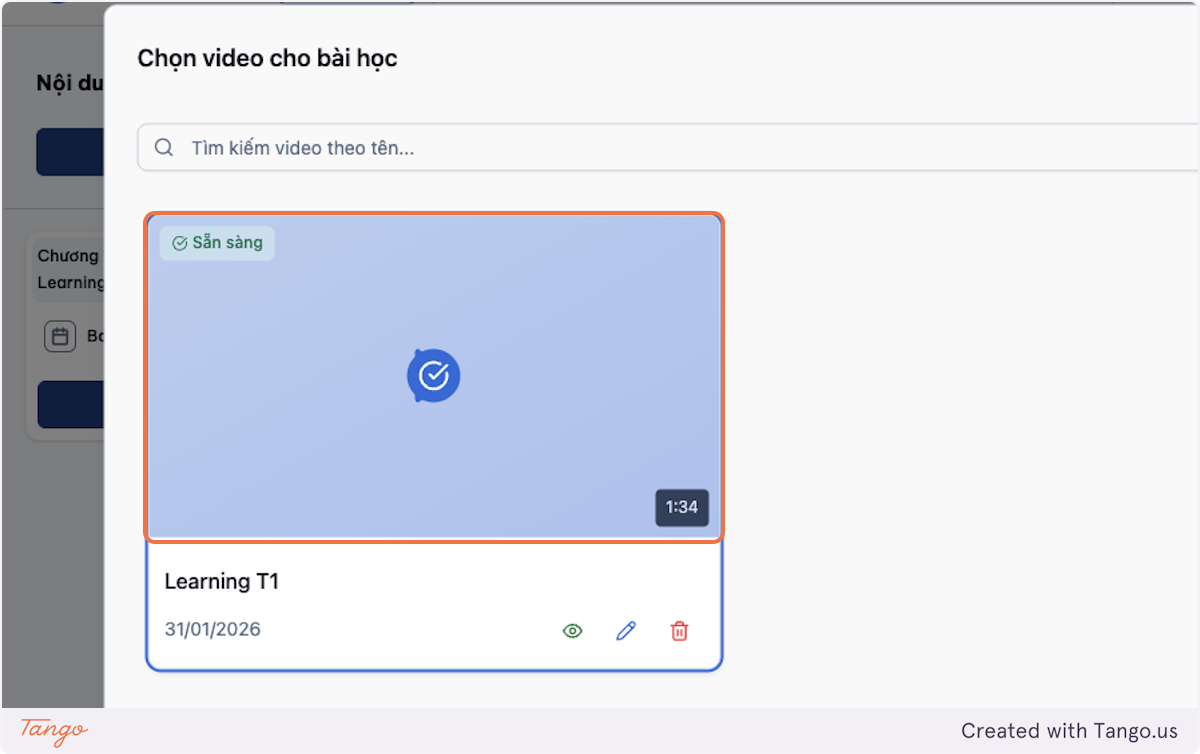
Choose your video.
-
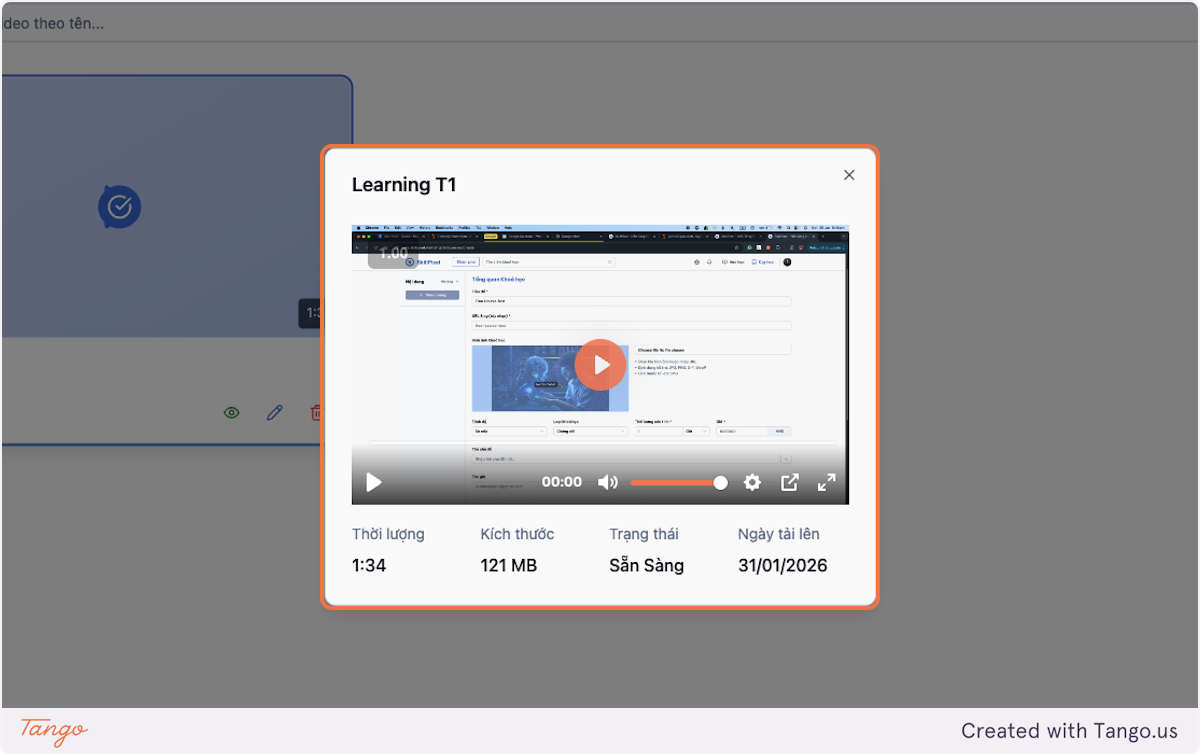
You can preview your uploaded video.
-
You can edit the video title with the edit button.
-
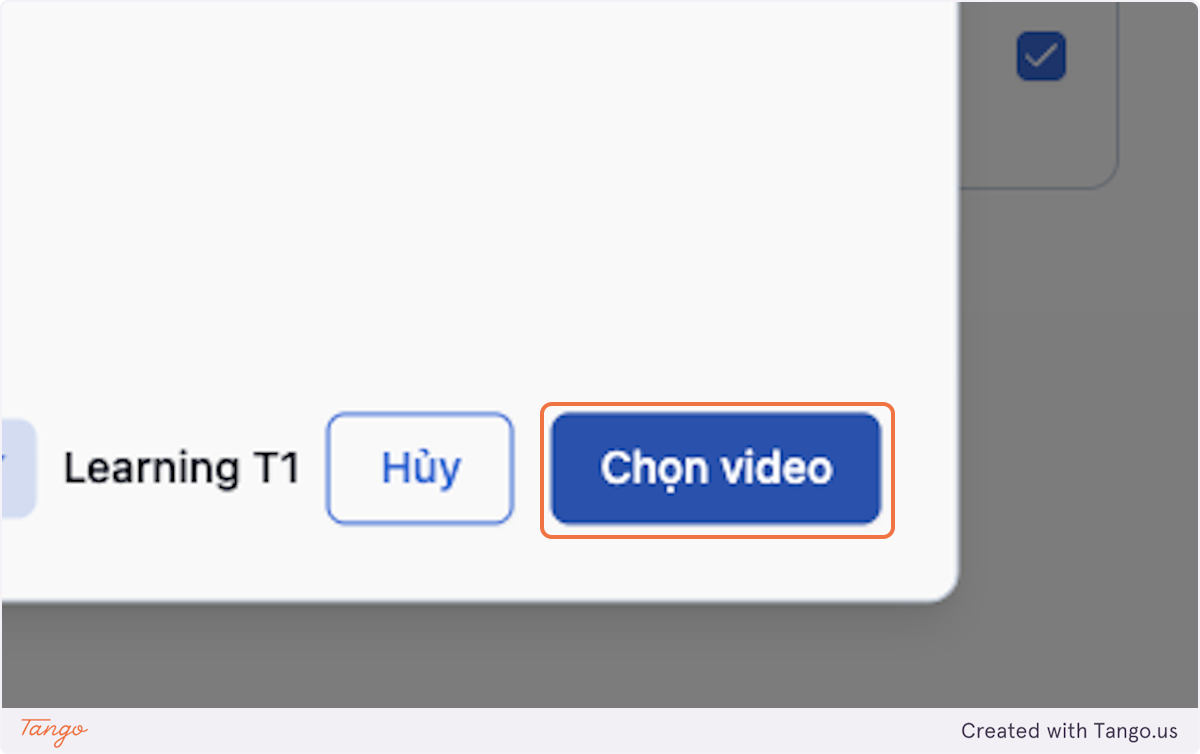
Choose the video you want to upload and click on Choose video.
-
The selected video appears in the Video field.
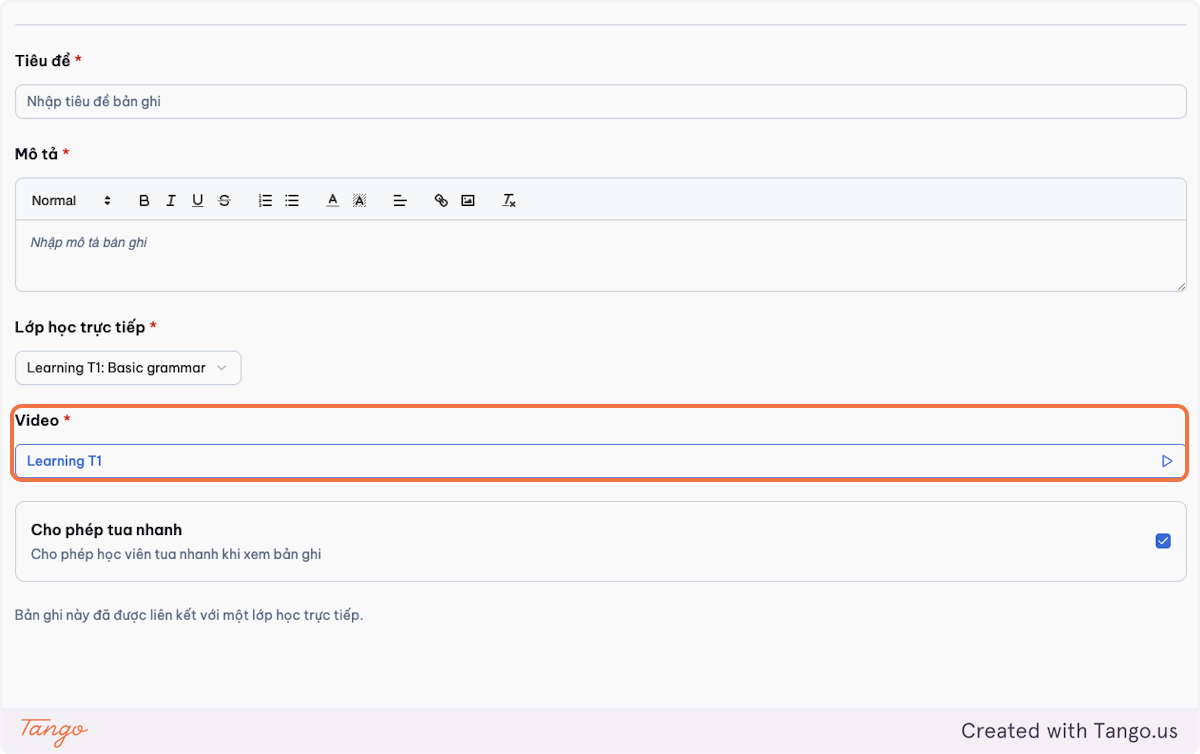
-
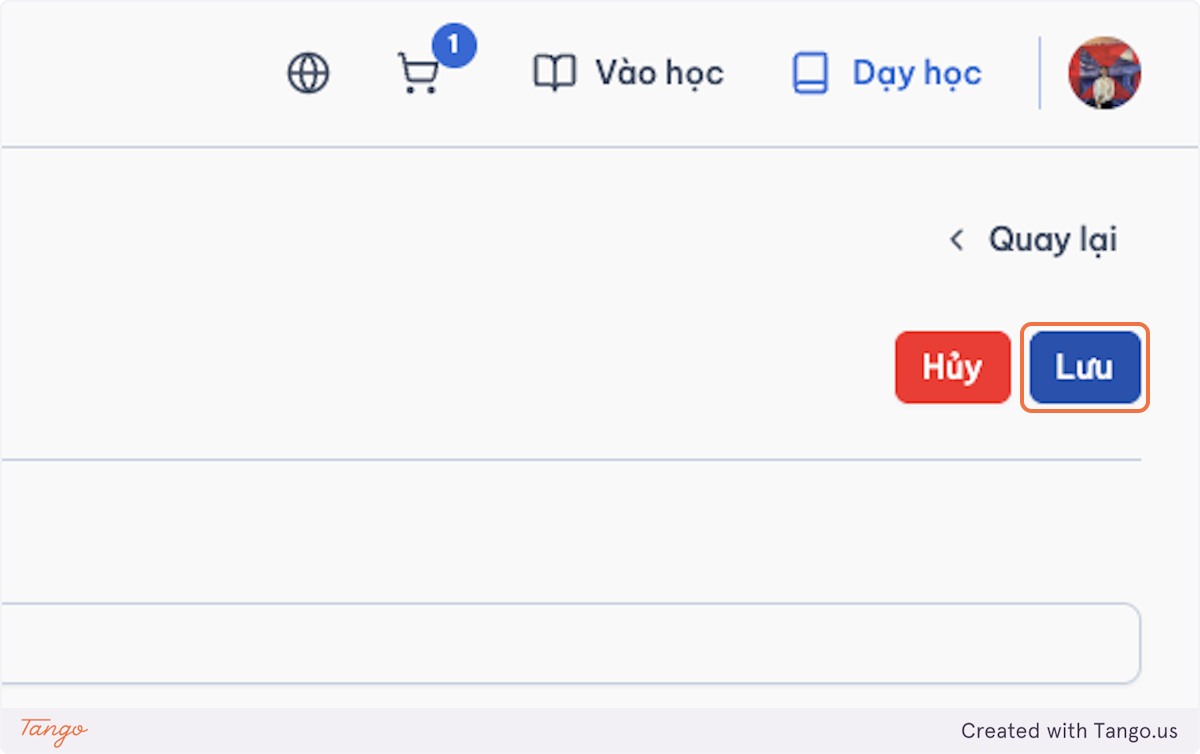
Click on Save.
C. Video
-
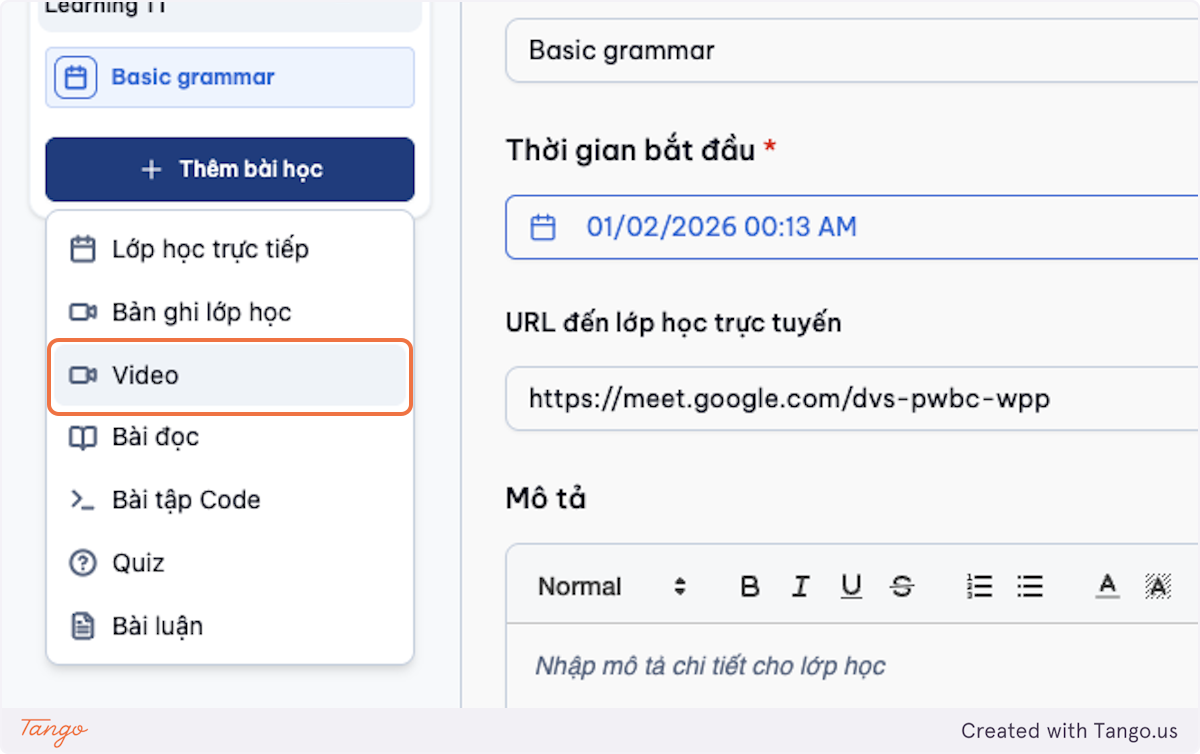
Choose Video.
-
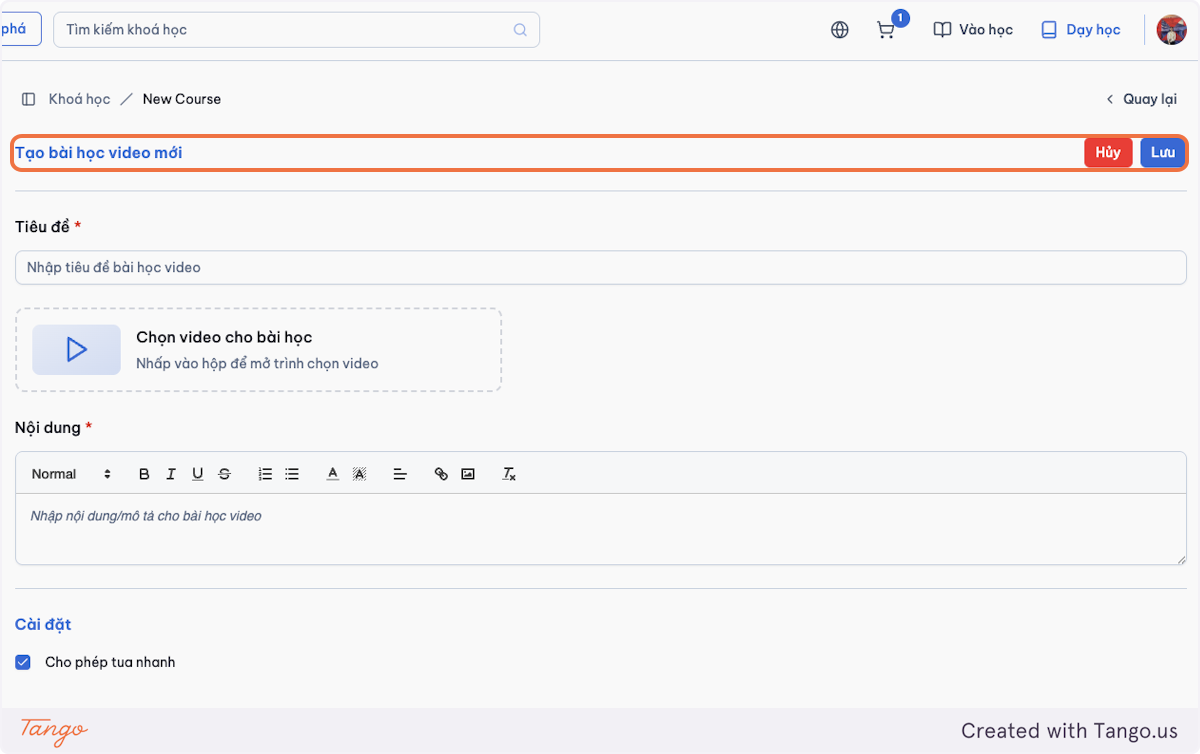
Input information for the fields: heading, contents.
-
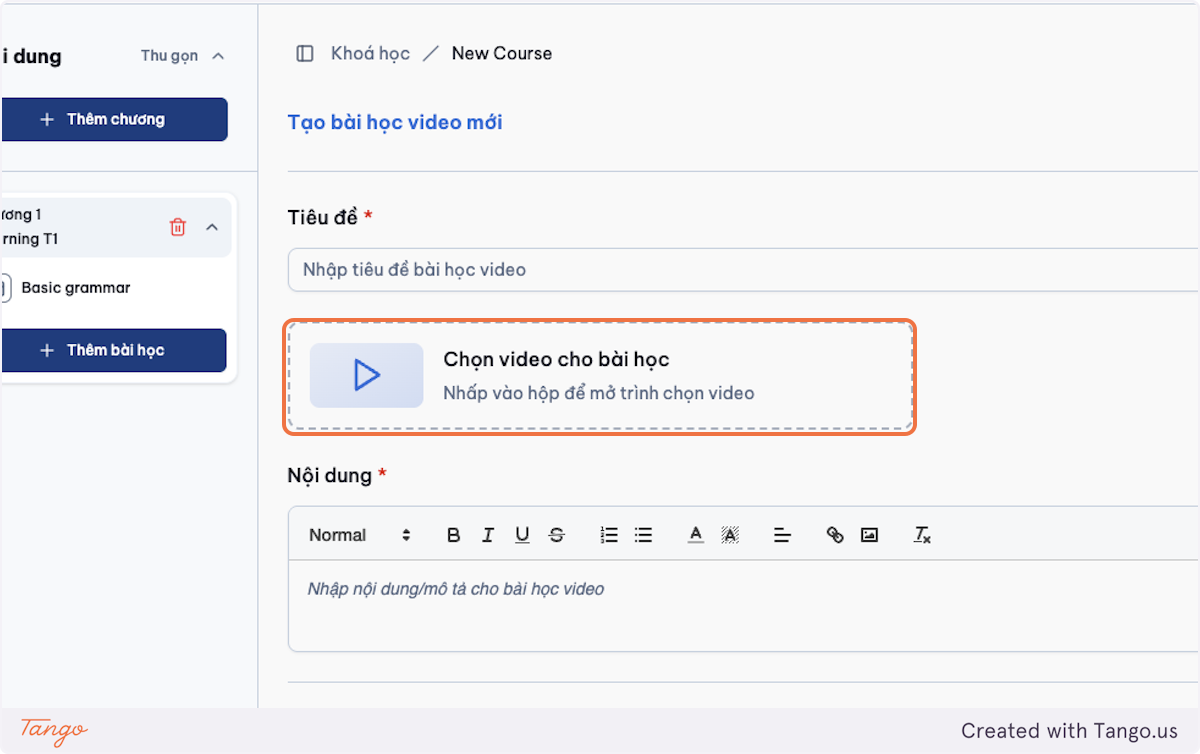
Click on Choose lesson video type.
-
Follow the same steps as in Live class recording.
-
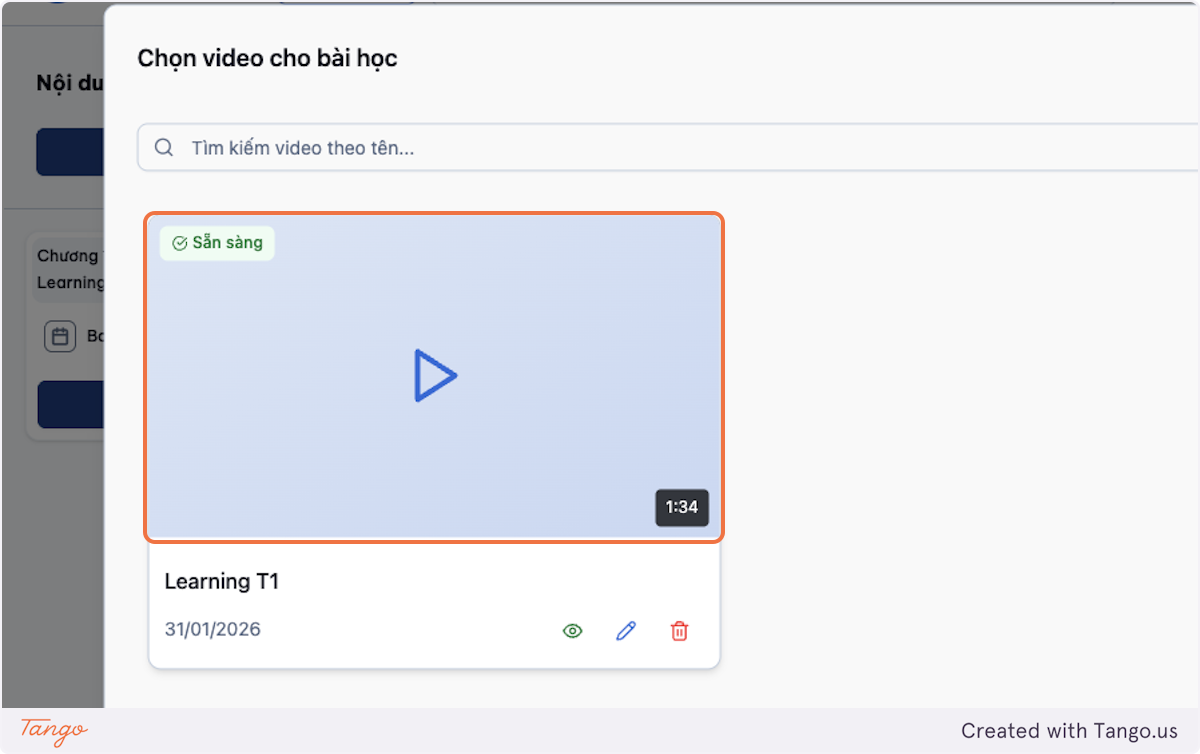
Choose the video.
-
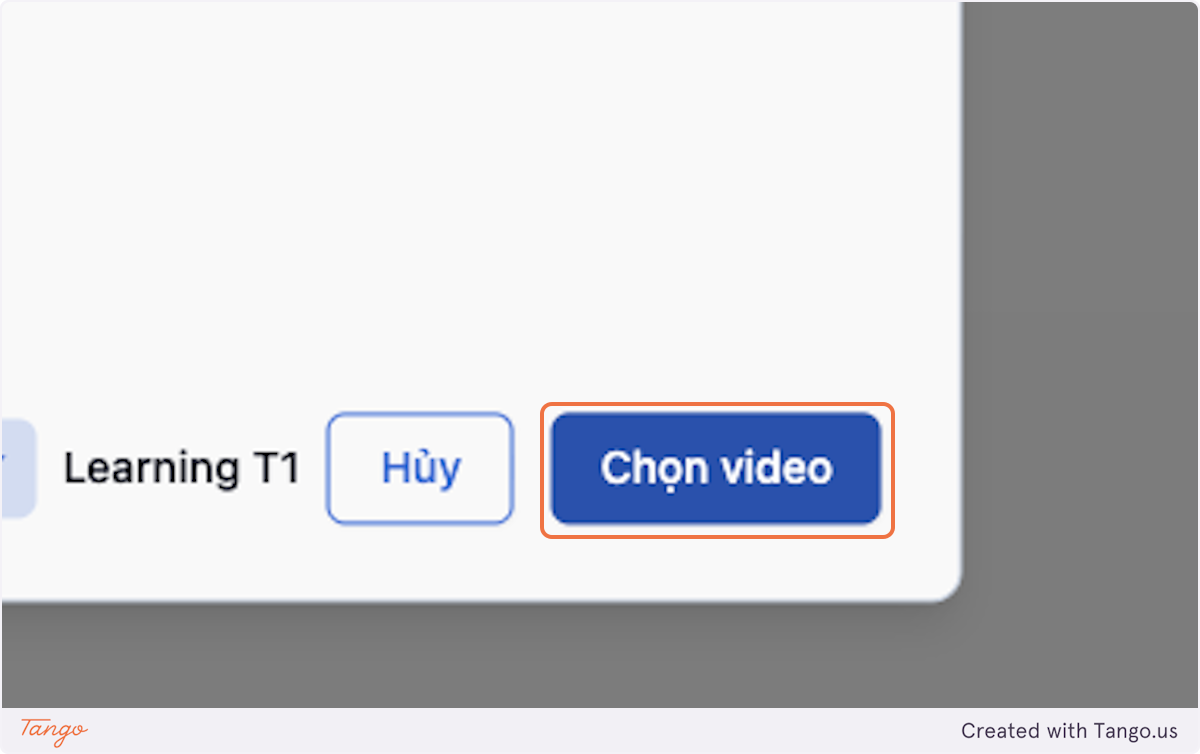
Click on Choose video.
-
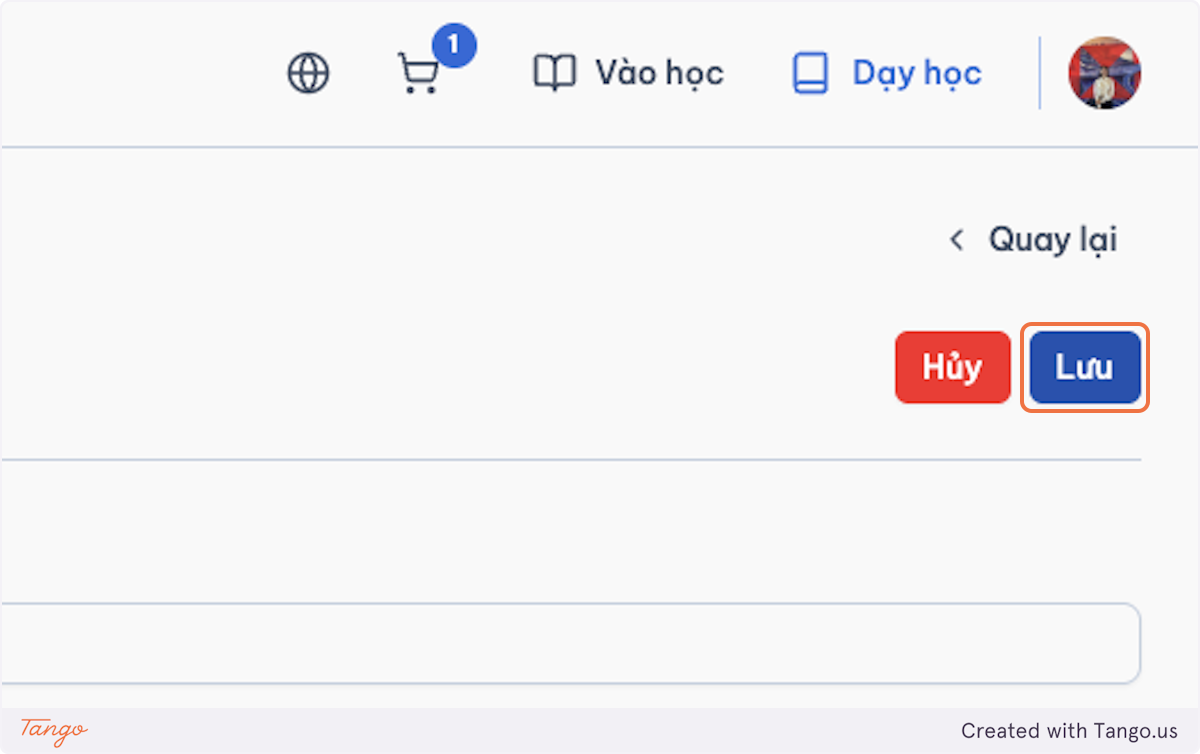
Click Save.
D. Reading
-
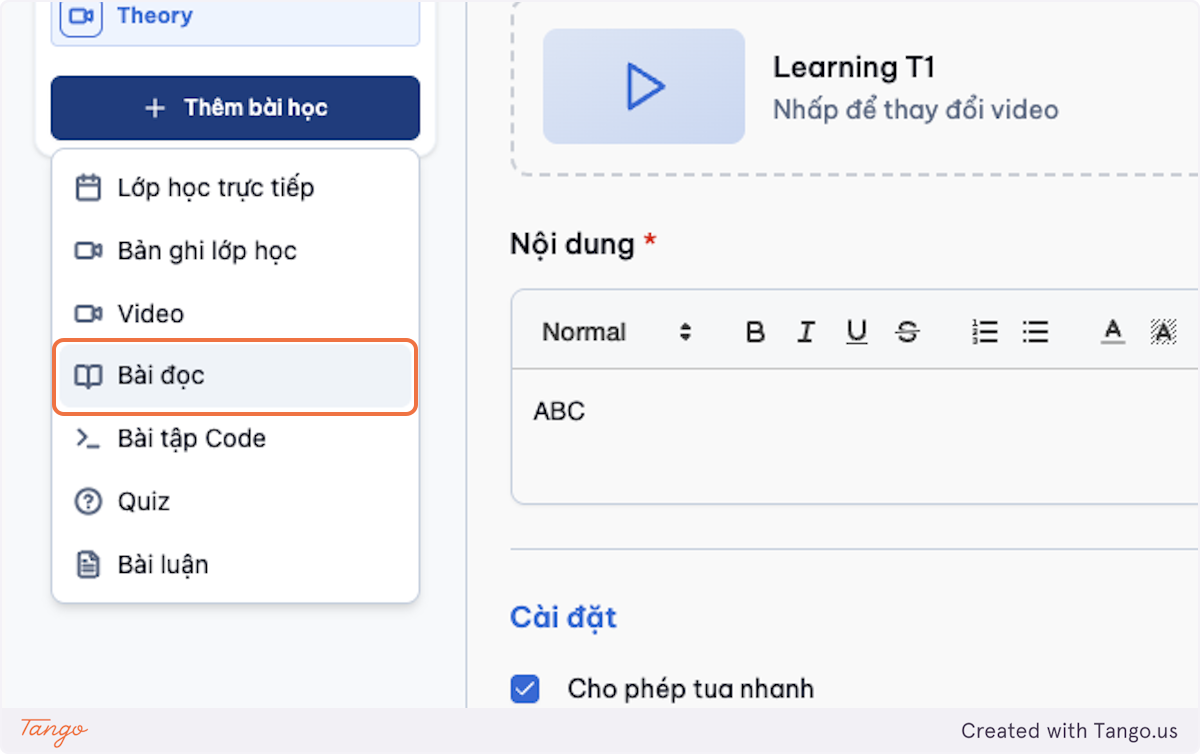
Click on Reading.
-
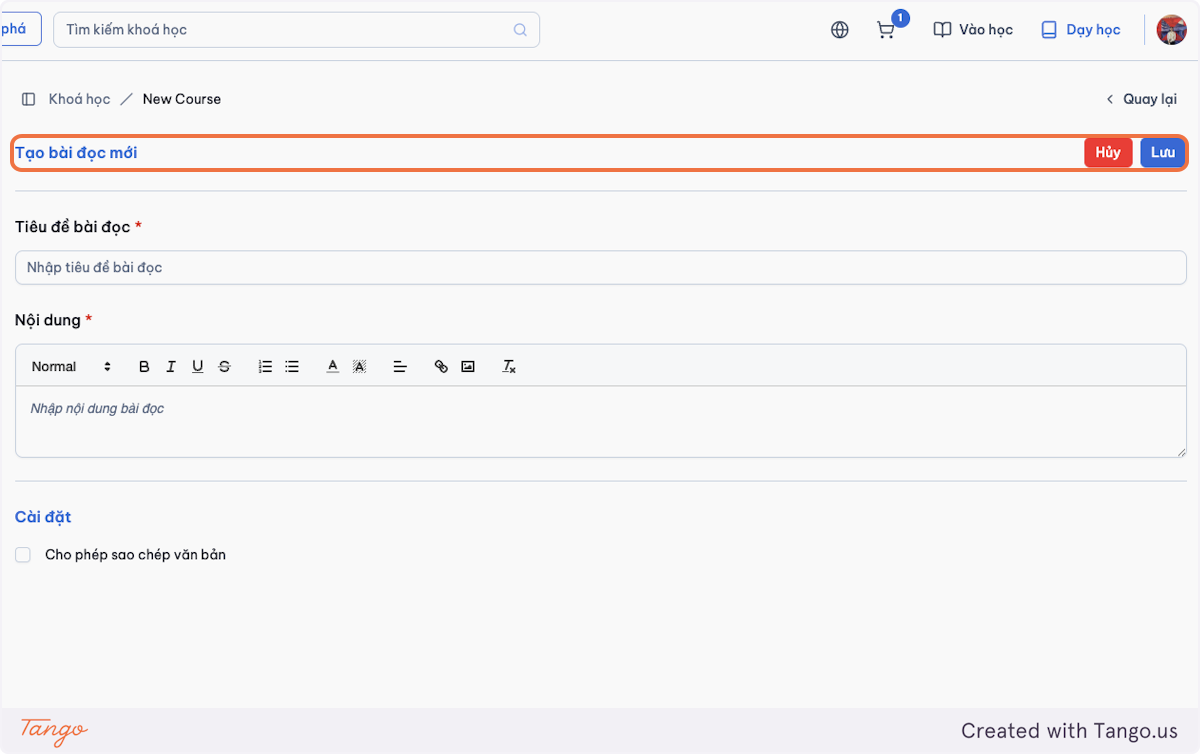
Fill in all information: heading and reading contents.
-
Click on Save.
E. Quiz
-
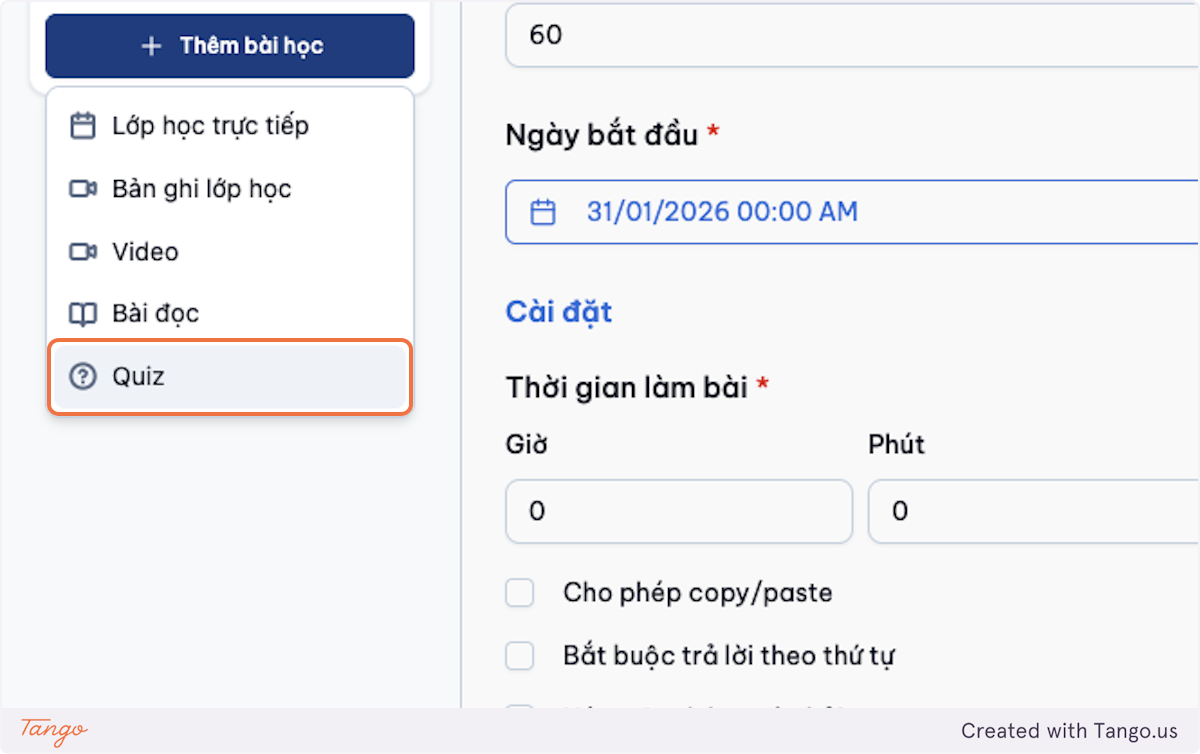
Click on Quiz.
-
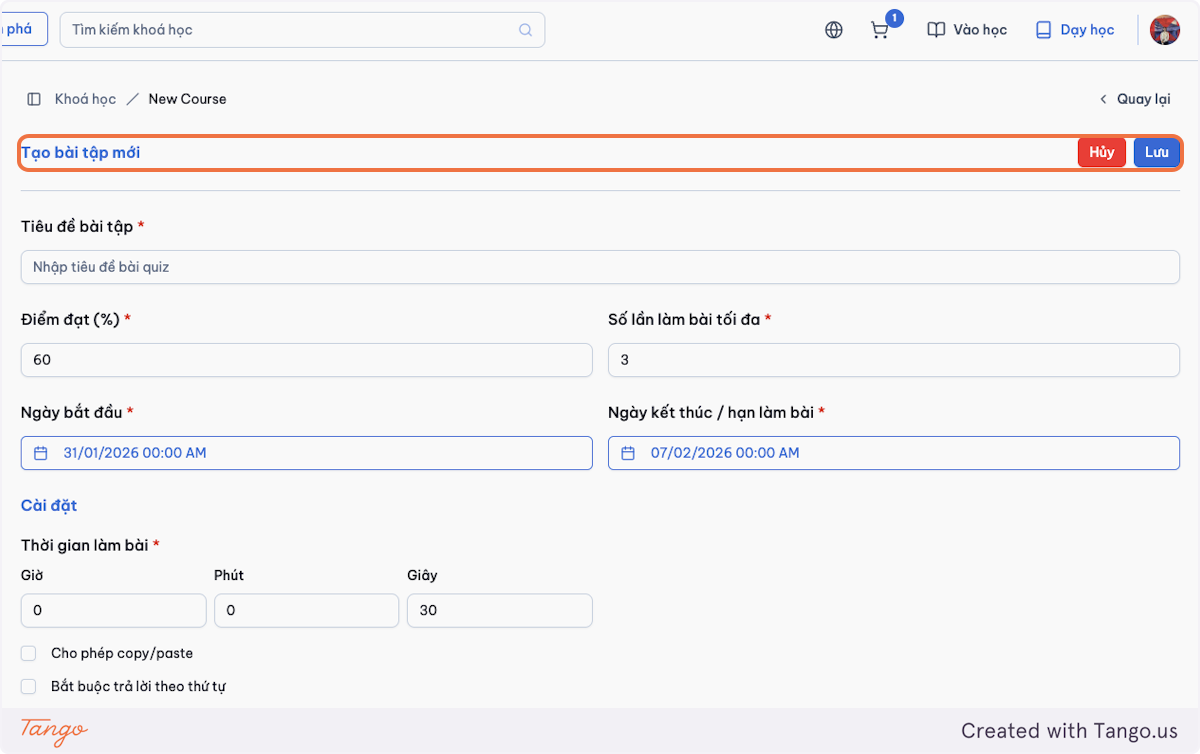
Fill in all information: quiz title, passing score, maximum attempts, starting and ending time, duration, etc.
-
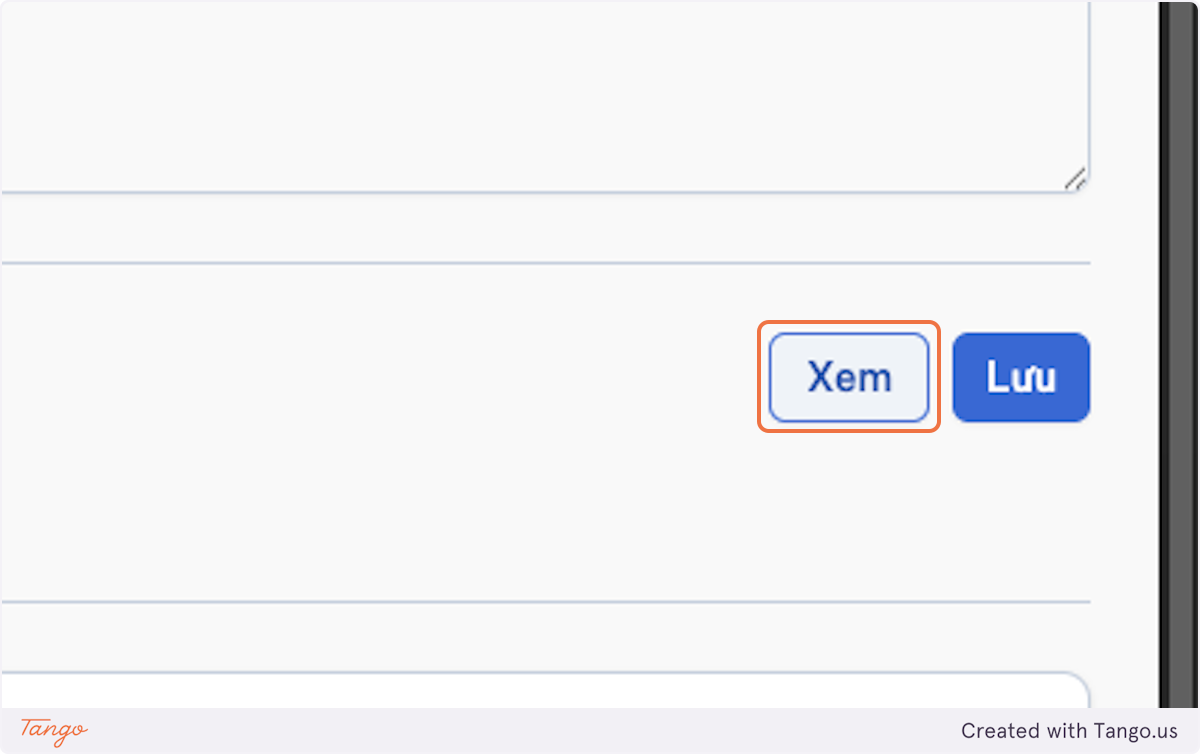
Click on Watch to add quiz questions.
-
Add questions.
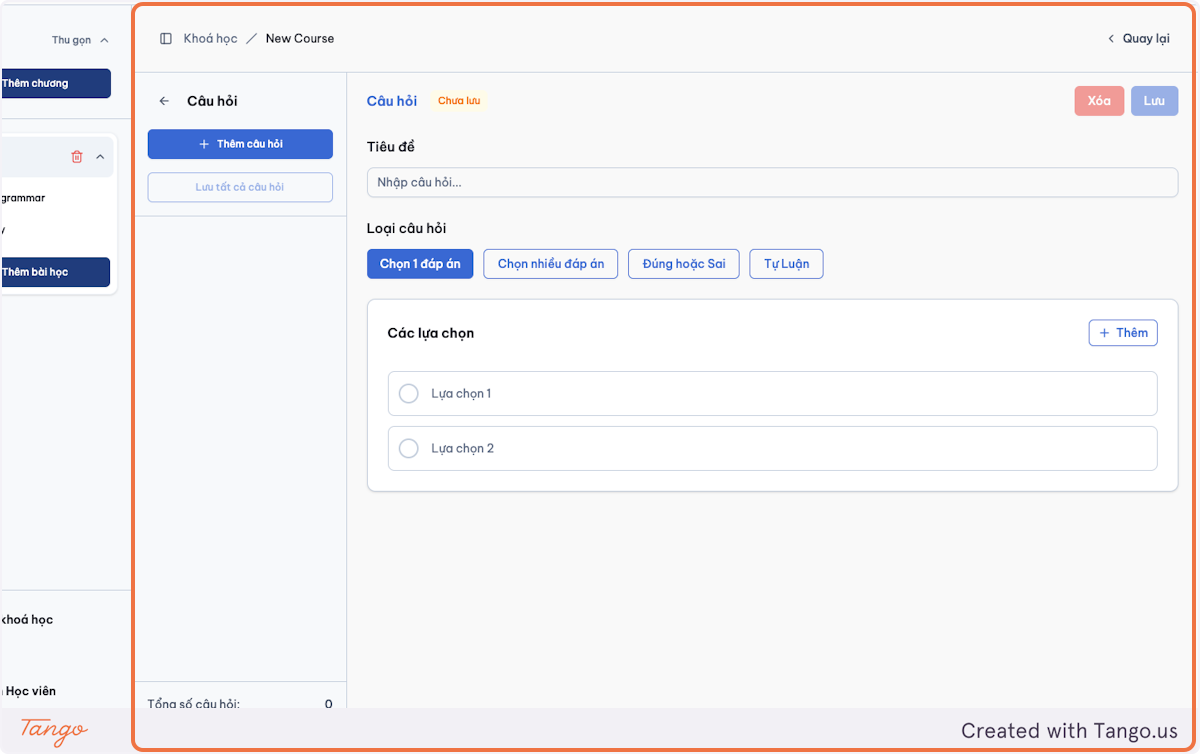
-
Click on the correct answer.
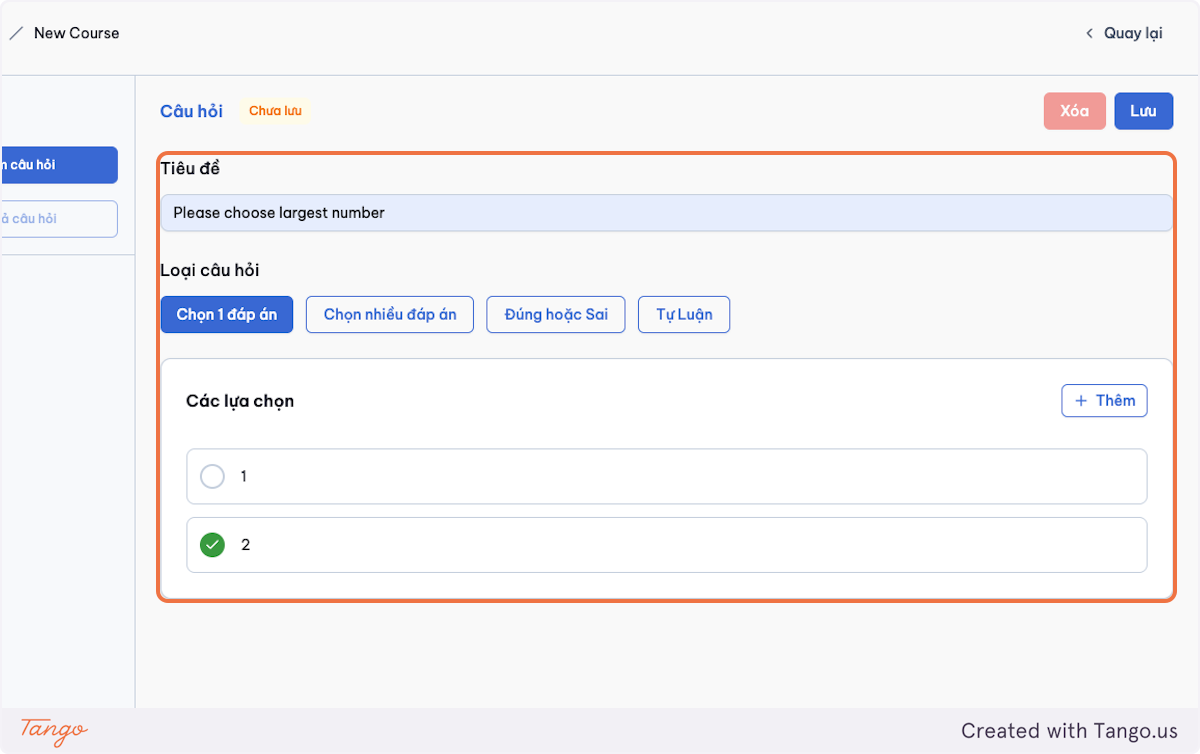
-
Click on Save.
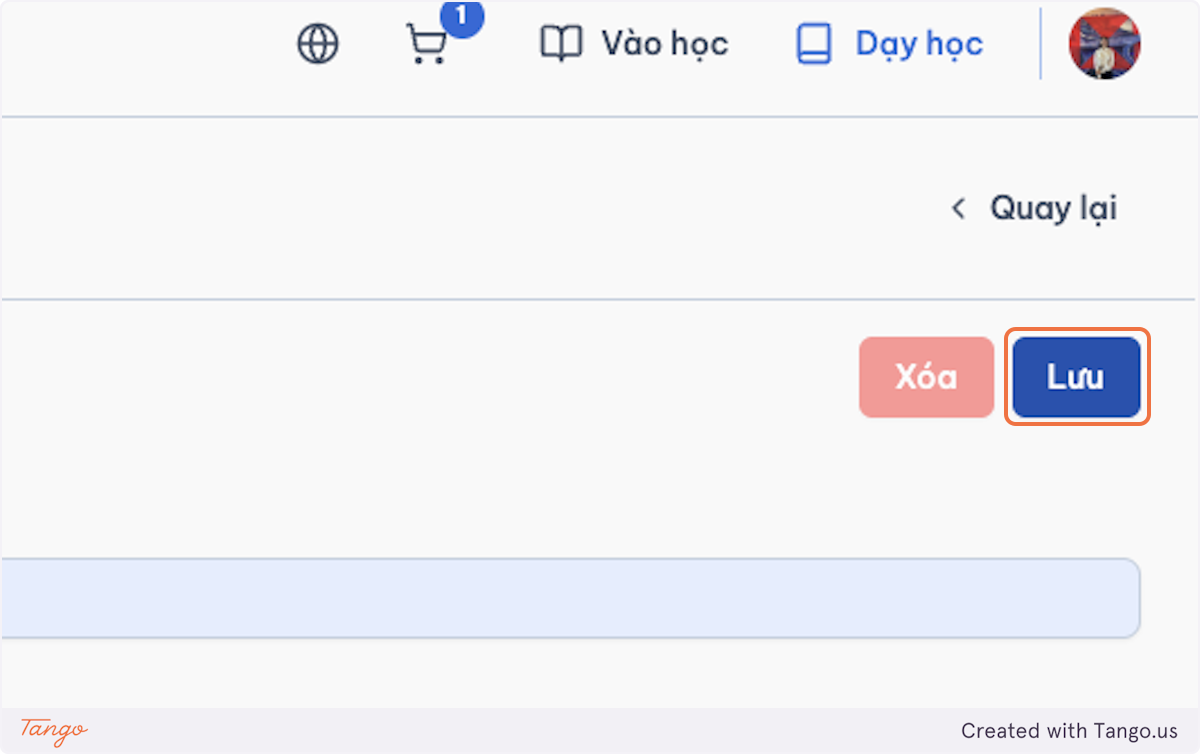
-
Click on Adding question to add another question.
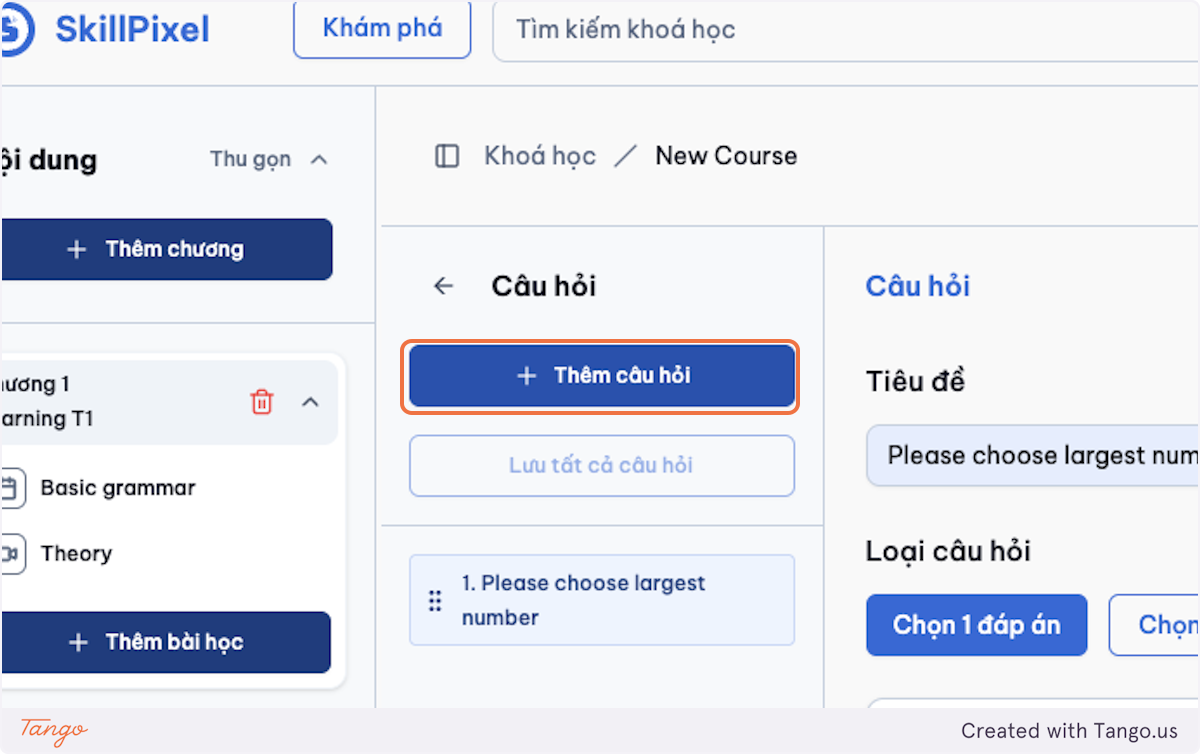
-
You can choose between question types: single answer, multiple answers, true or false, etc.
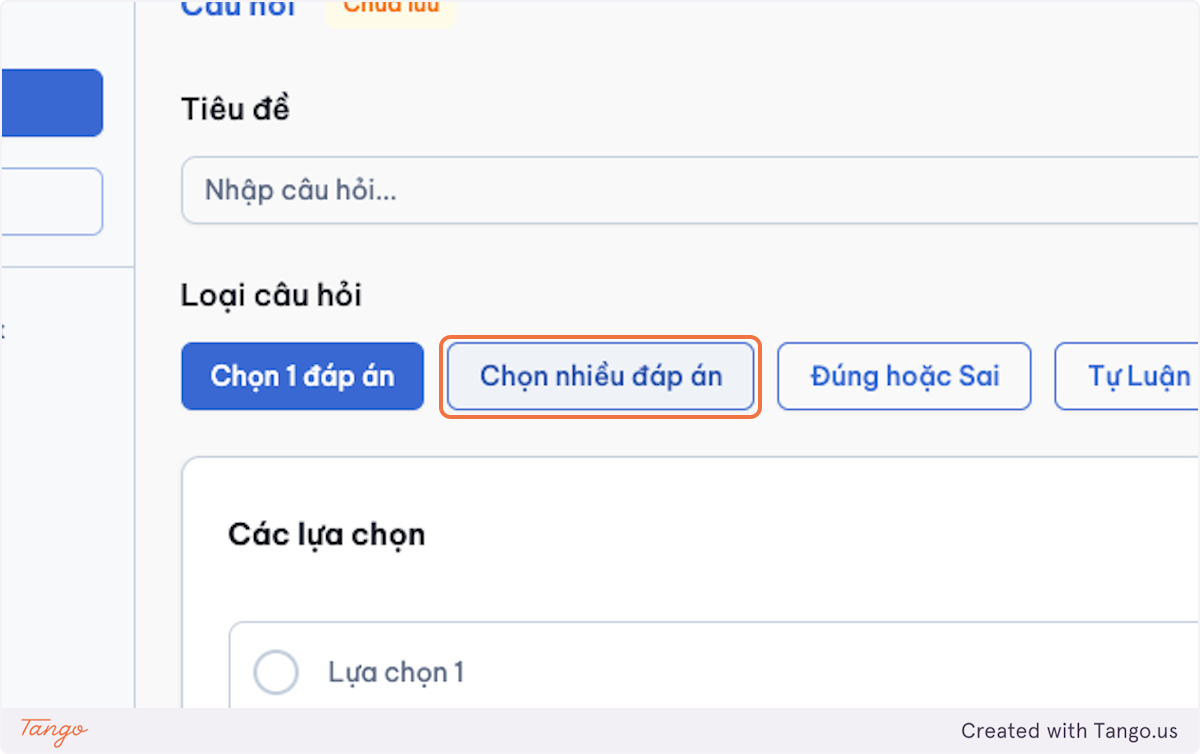
-
Choose the correct answers.
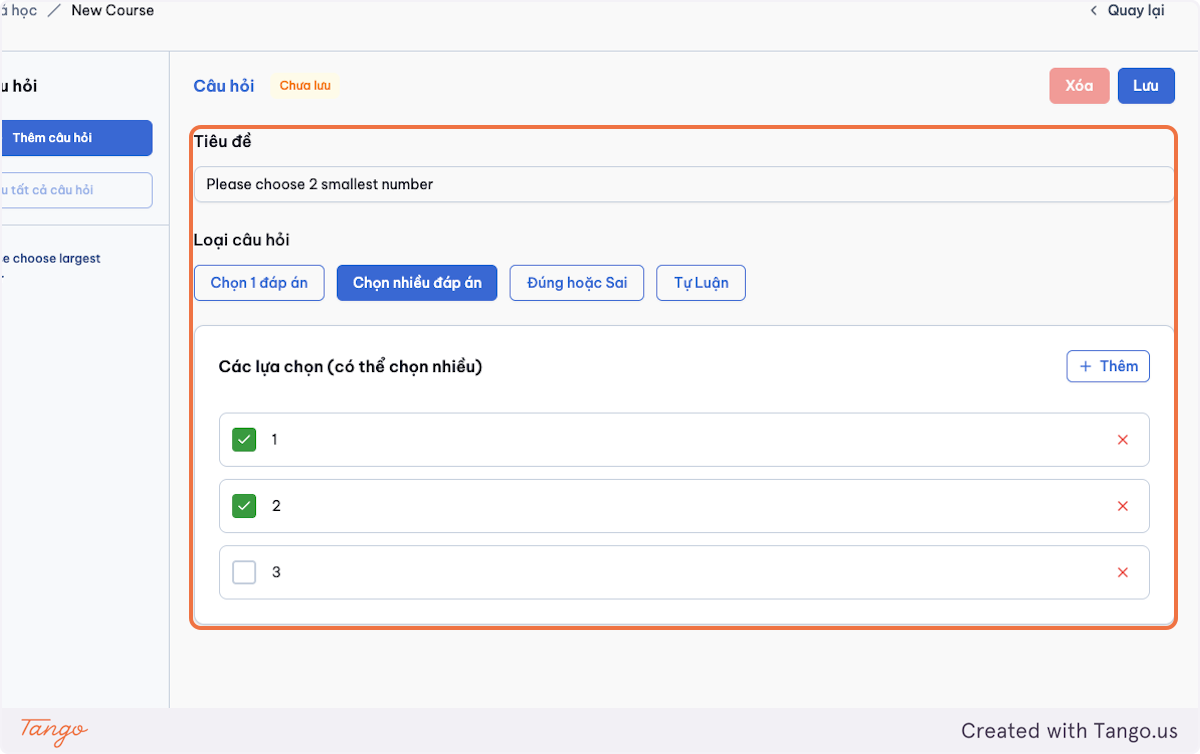
-
And save it.
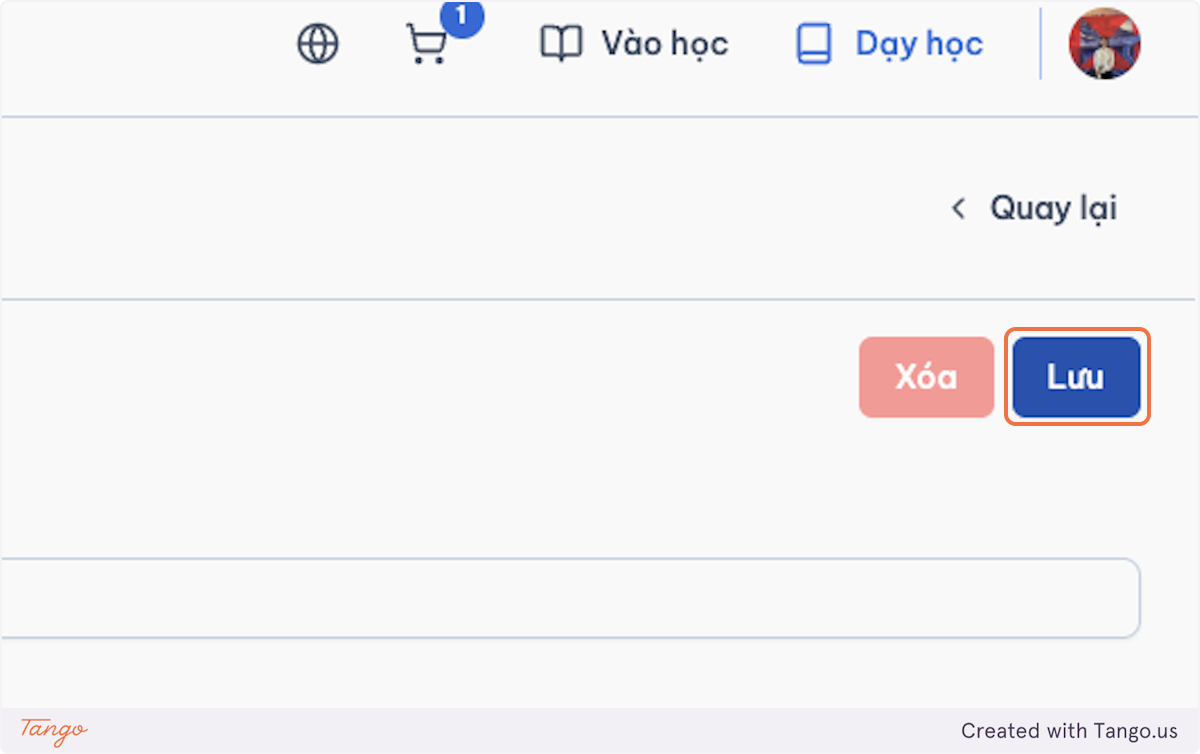
-
Click on the left arrow in the corner to go back to the main screen.
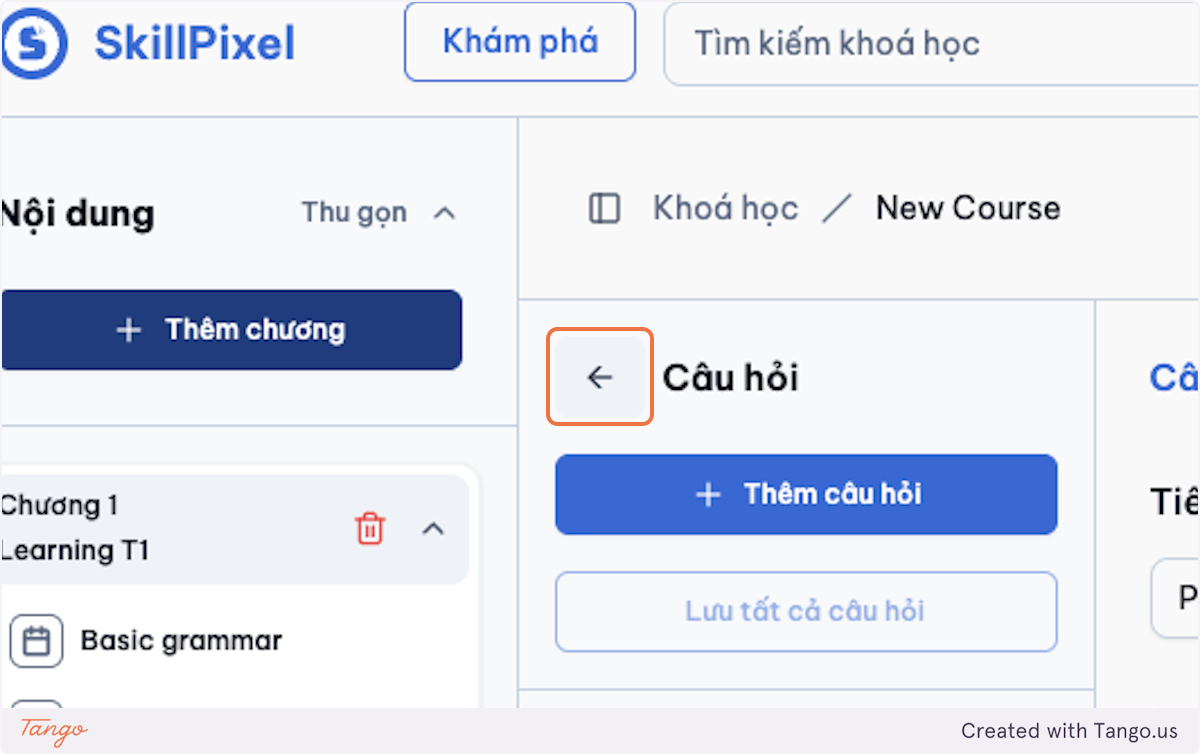
-
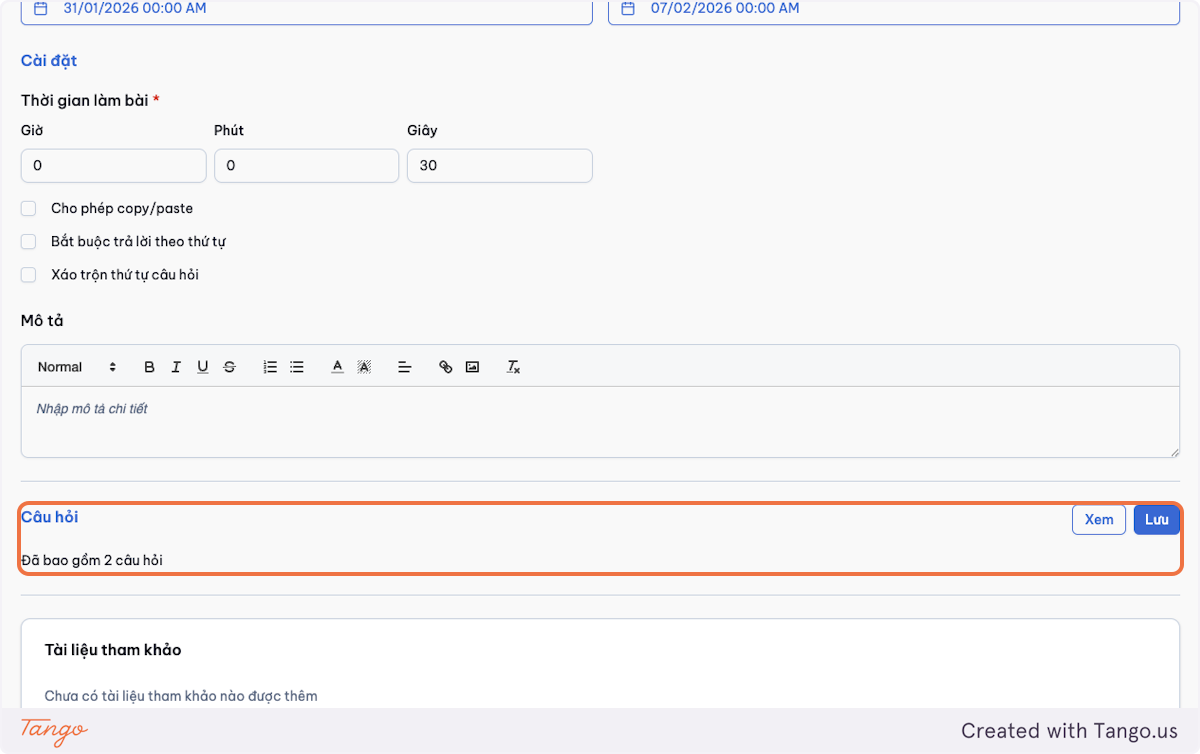
Your questions have been added.
-
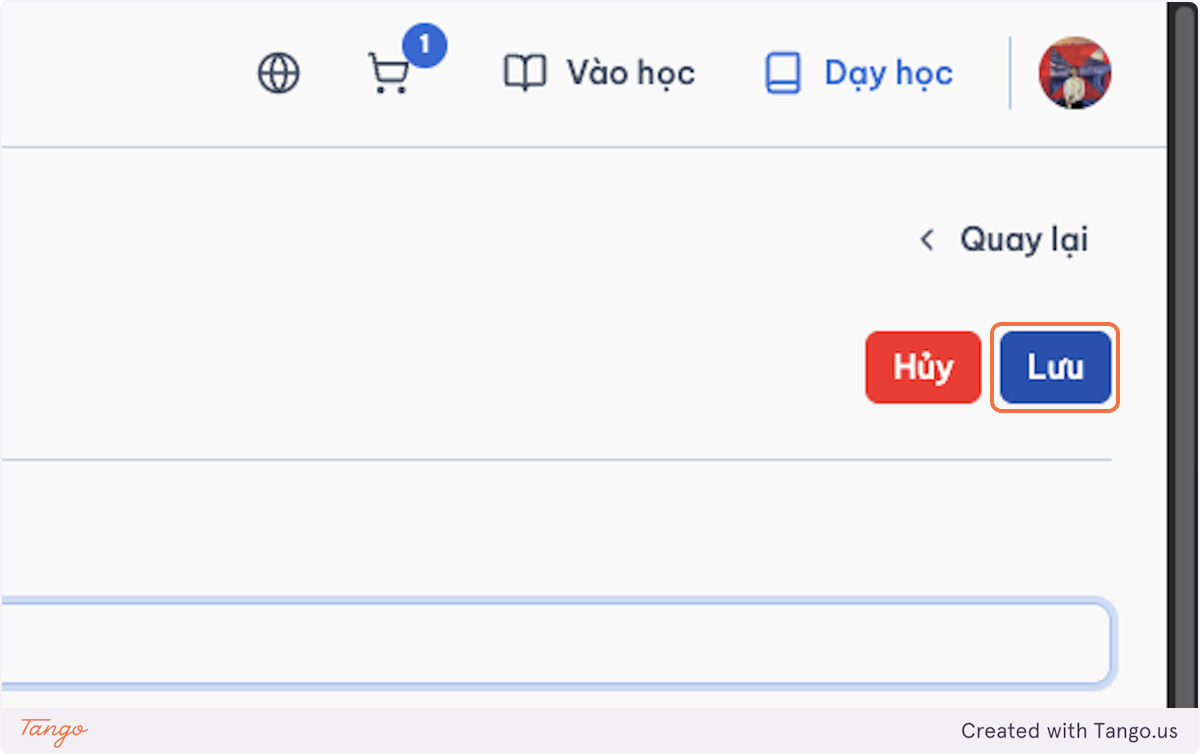
Click on Save to complete.
F. Essay or Assignment
-
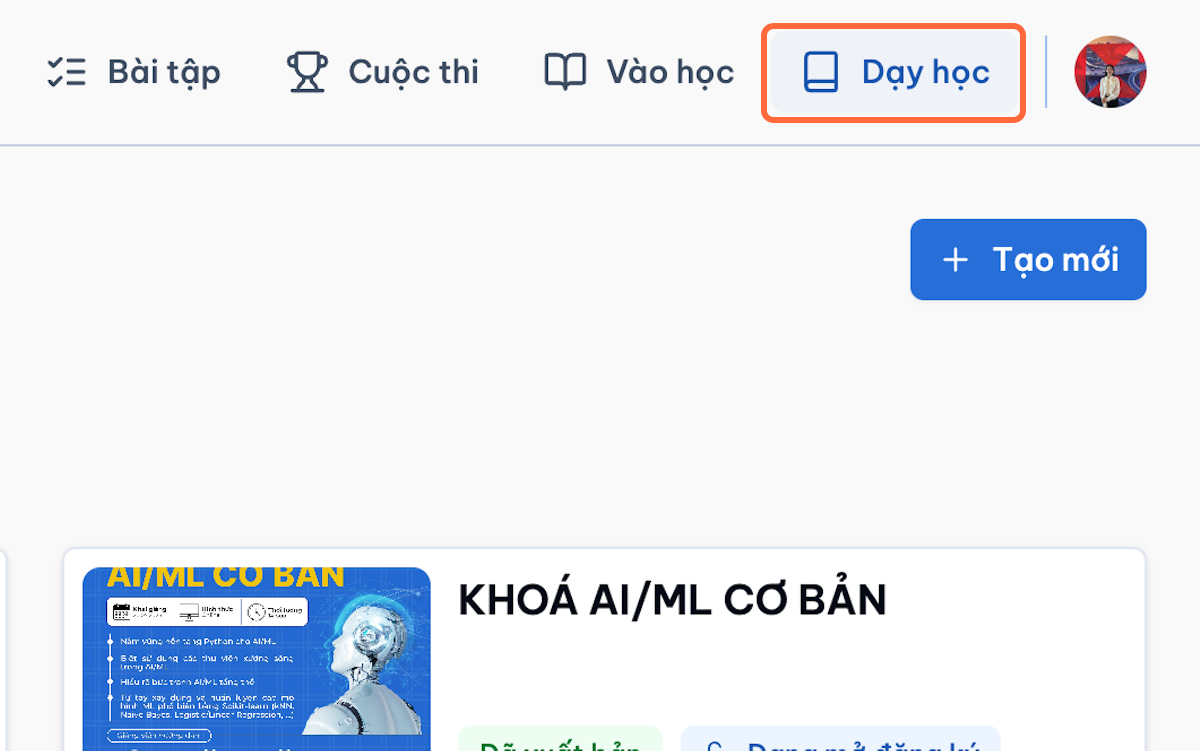
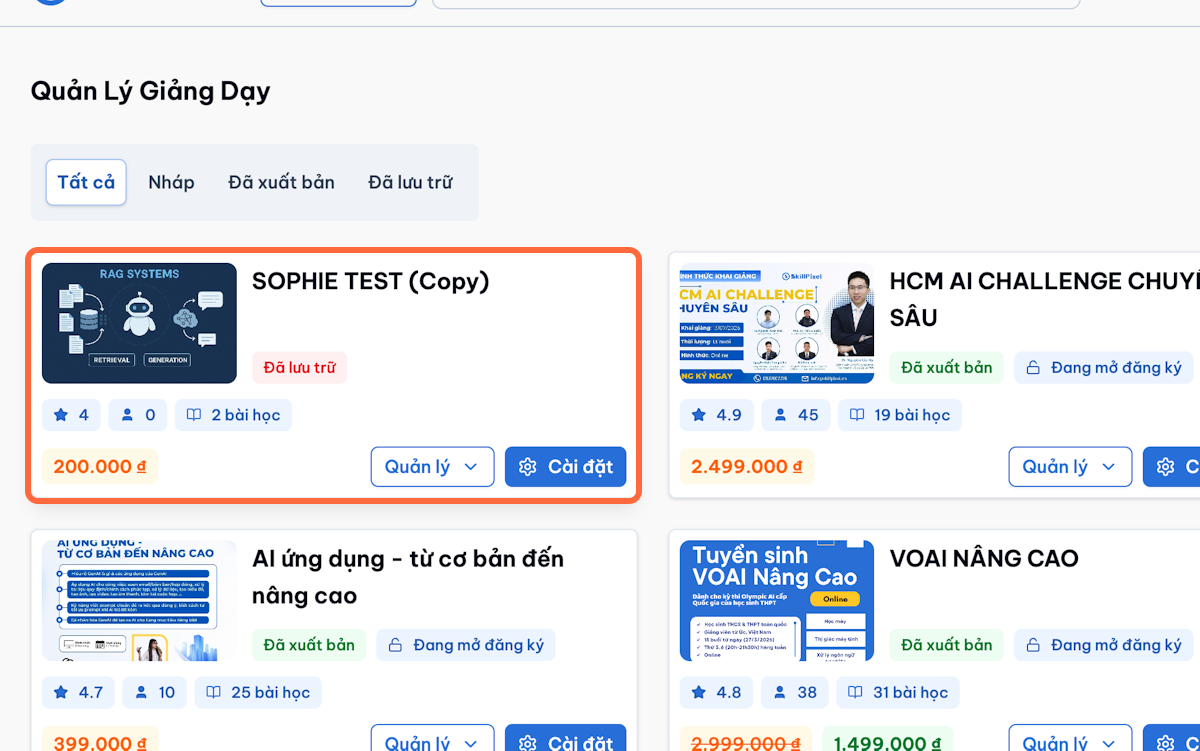
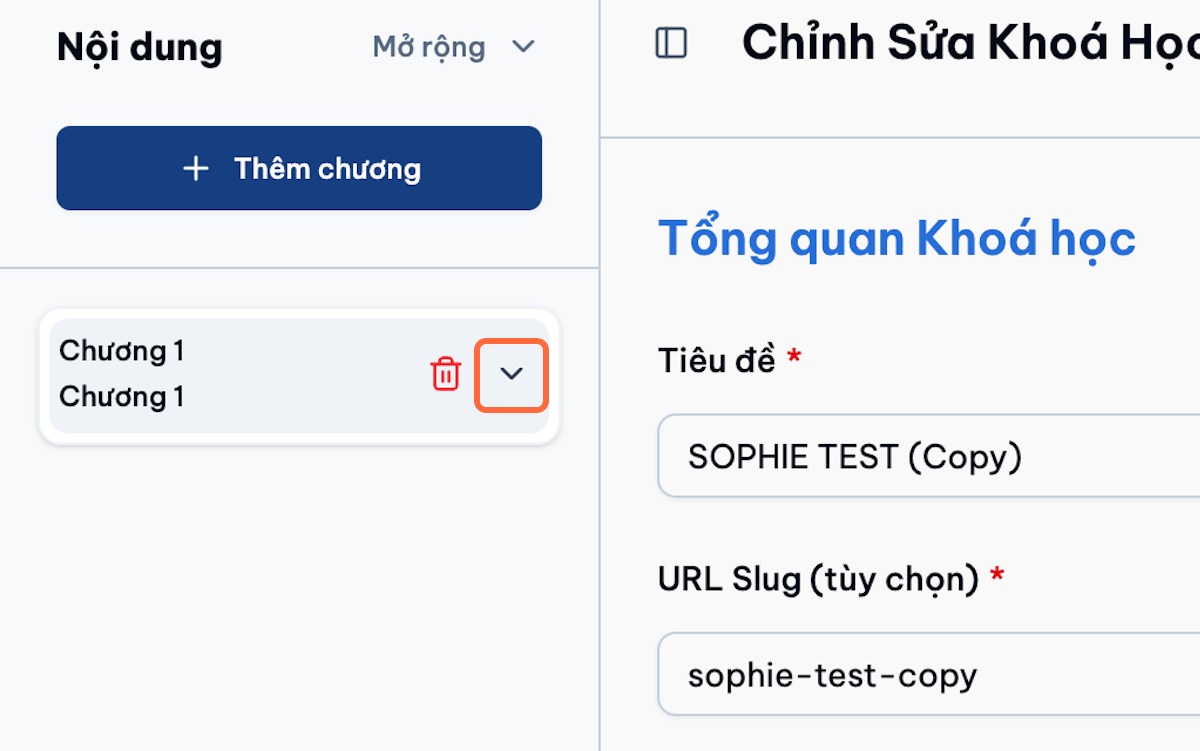
Open Teaching and open the course.
-
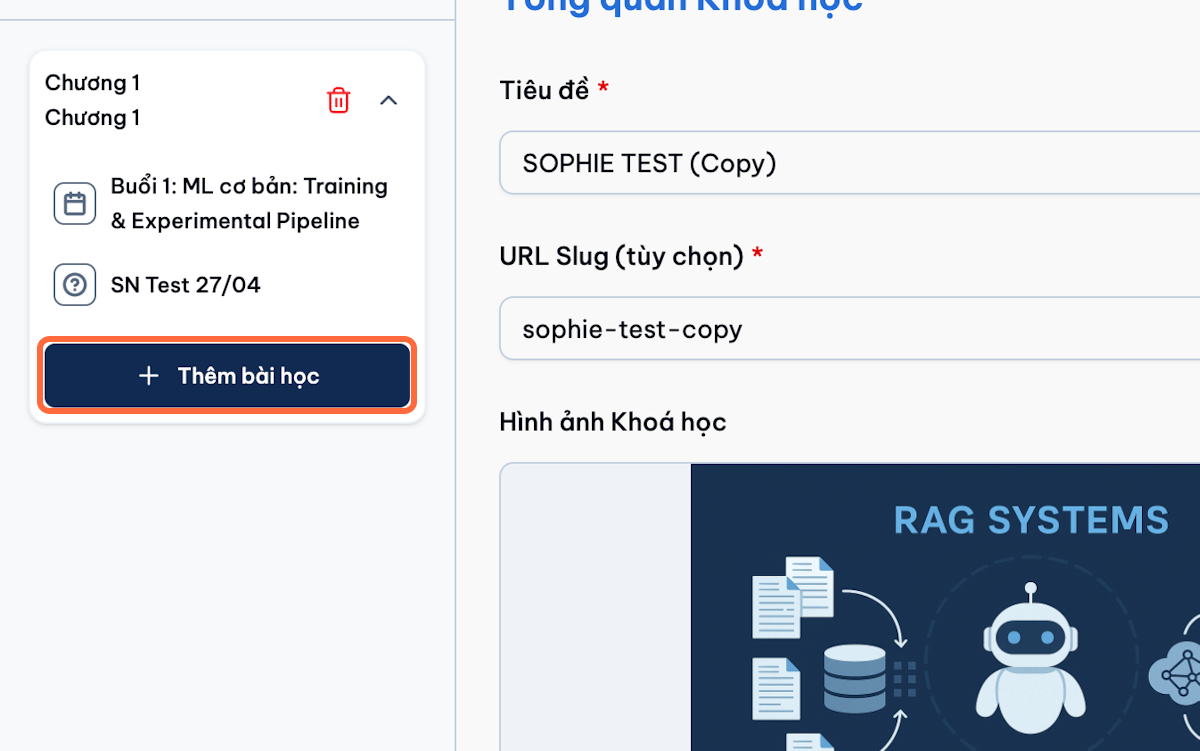
Select Adding Lessons.
-
Choose Essay or Assignment.
-
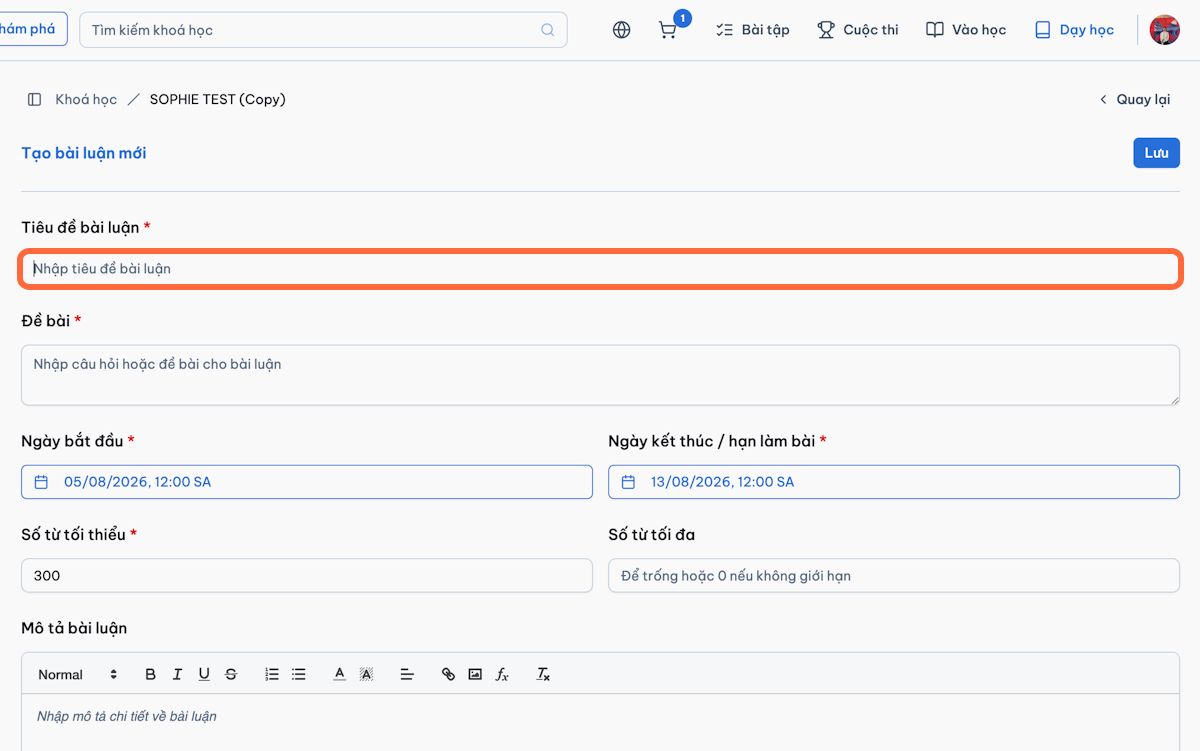
Enter:
- Lesson heading
- Instructions
- Submission requirements
- Starting date
- Deadline
- Minimum word count
- Maximum word count
- Passing score
- Maximum attempts
- Description
-
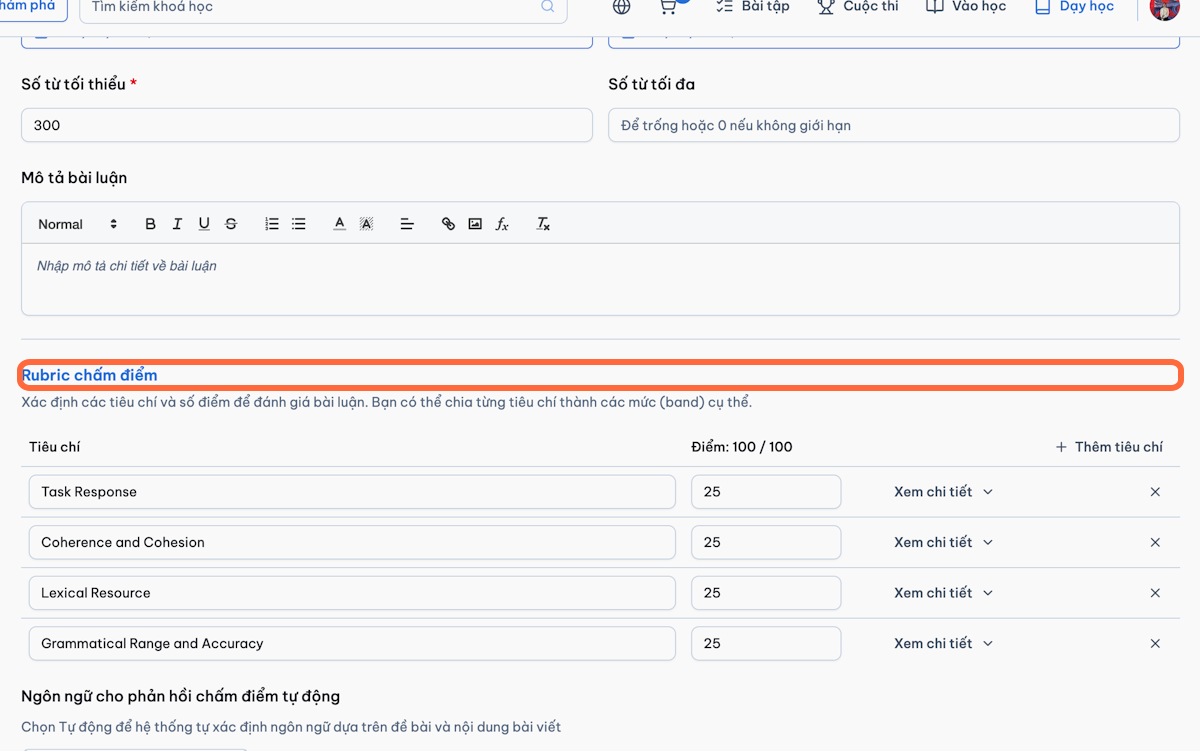
Add the grading rubric or assessment criteria.
-
Configure AI-assisted feedback or grading, when enabled.
-
Click Save.
Important Notes
- Explain clearly whether students should type their response, upload a file, or complete both.
- AI feedback should assist the instructor and should not be presented as a guaranteed final grade unless the LMS is configured that way.
G. H5P Interactive Lesson
-
Open the course.
-
Select Adding Lessons.
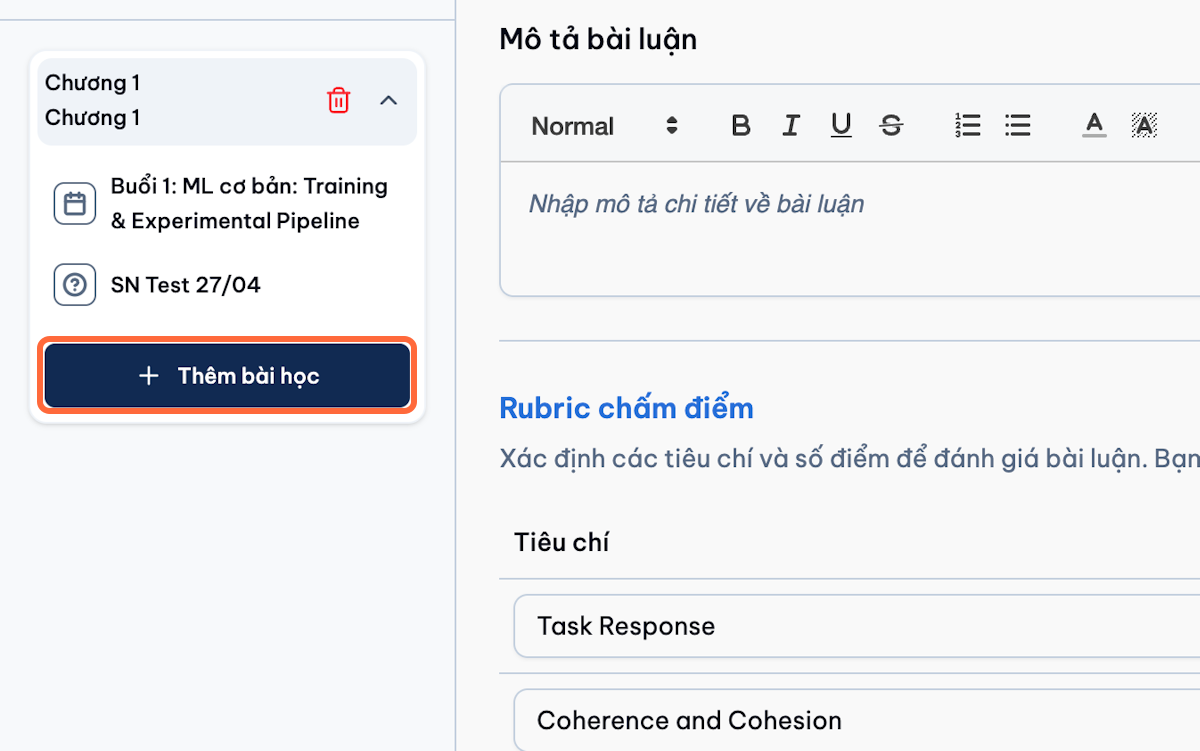
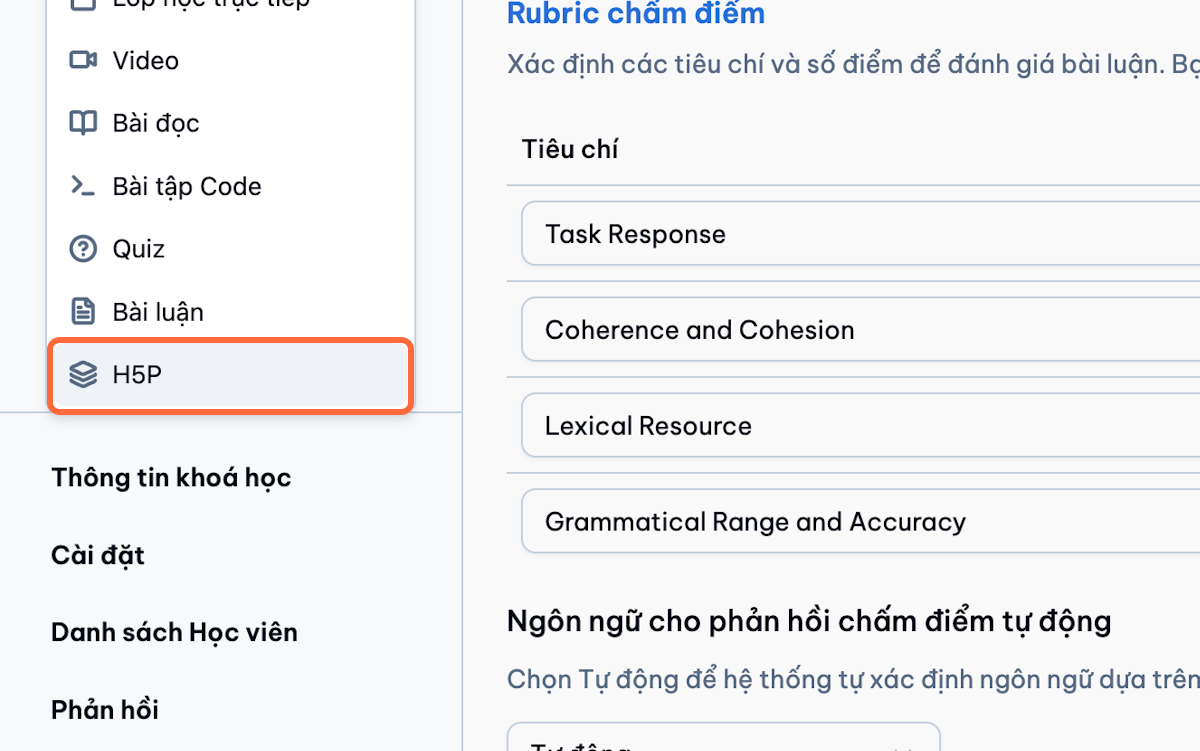
-
Choose H5P or Interactive Content.
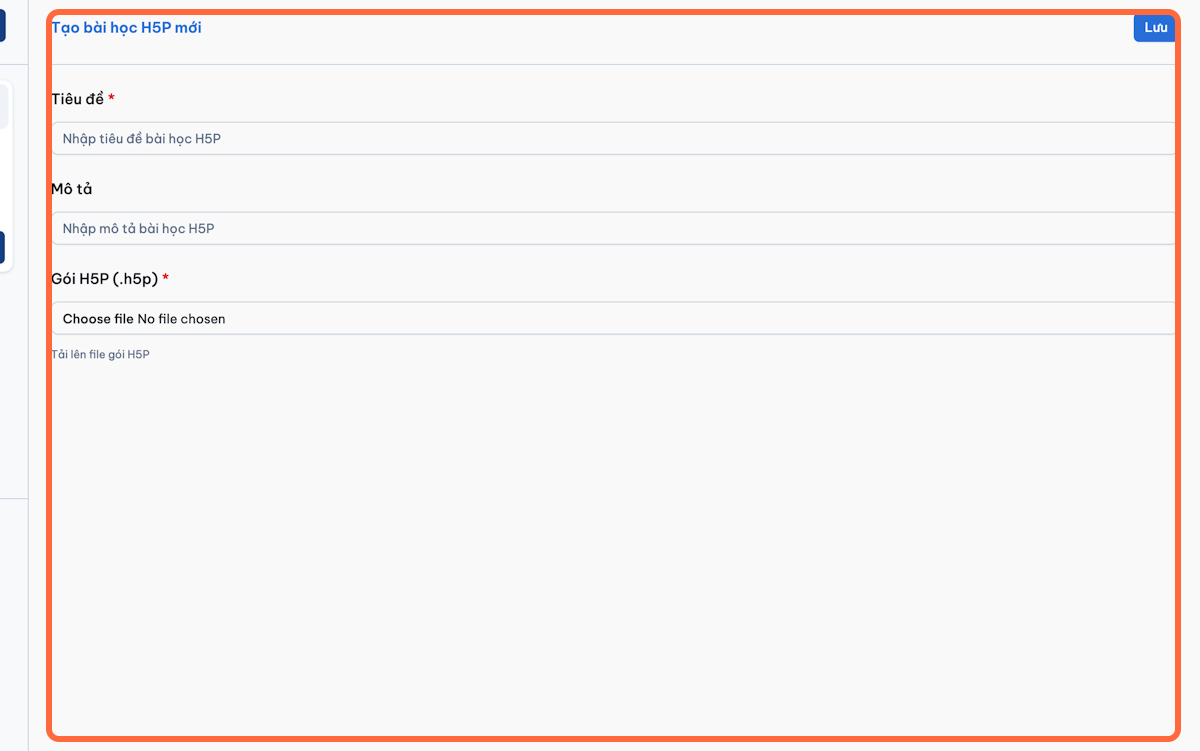
-
Enter the lesson heading and description.
-
Upload the H5P package (.h5p) to the system.
-
Preview the activity.
-
Click Save.
-
Open the lesson using a student test account to confirm that the activity loads correctly.